Automation Workflow Designer
The purpose of this document is to walk you through the Workflow Designer interface.
Getting to the Automation Designer
In order to work in the Workflow Designer, you first need to create a blank Workflow.
Navigate to Automation >> Workflow Tab, and either open an existing workflow or create a new Workflow. To learn how to create a Workflow refer Create an Automation Workflow.
Components of Workflow Designer
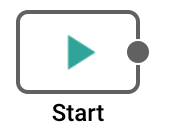
| Start : This activity block is a start point of an Automation workflow. Input JSON schema and input JSON is configured under this. |
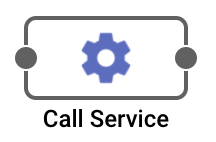
| Call Service : This activity block is a Service to add operations to your workflow. |
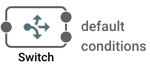
| Switch : This activity block is a typical Switch case where in you can add switch conditions as a boolean expression. |
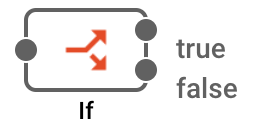 | If : This activity block is a simple If logic which evaluates the boolean condition given by the user. |
| JSON Extractor : This activity block is used to extract data from input or context JSON. |
| Stop : This activity block is a stop/end point of your workflow , you set desired output in this activity by extracting it from context JSON. |
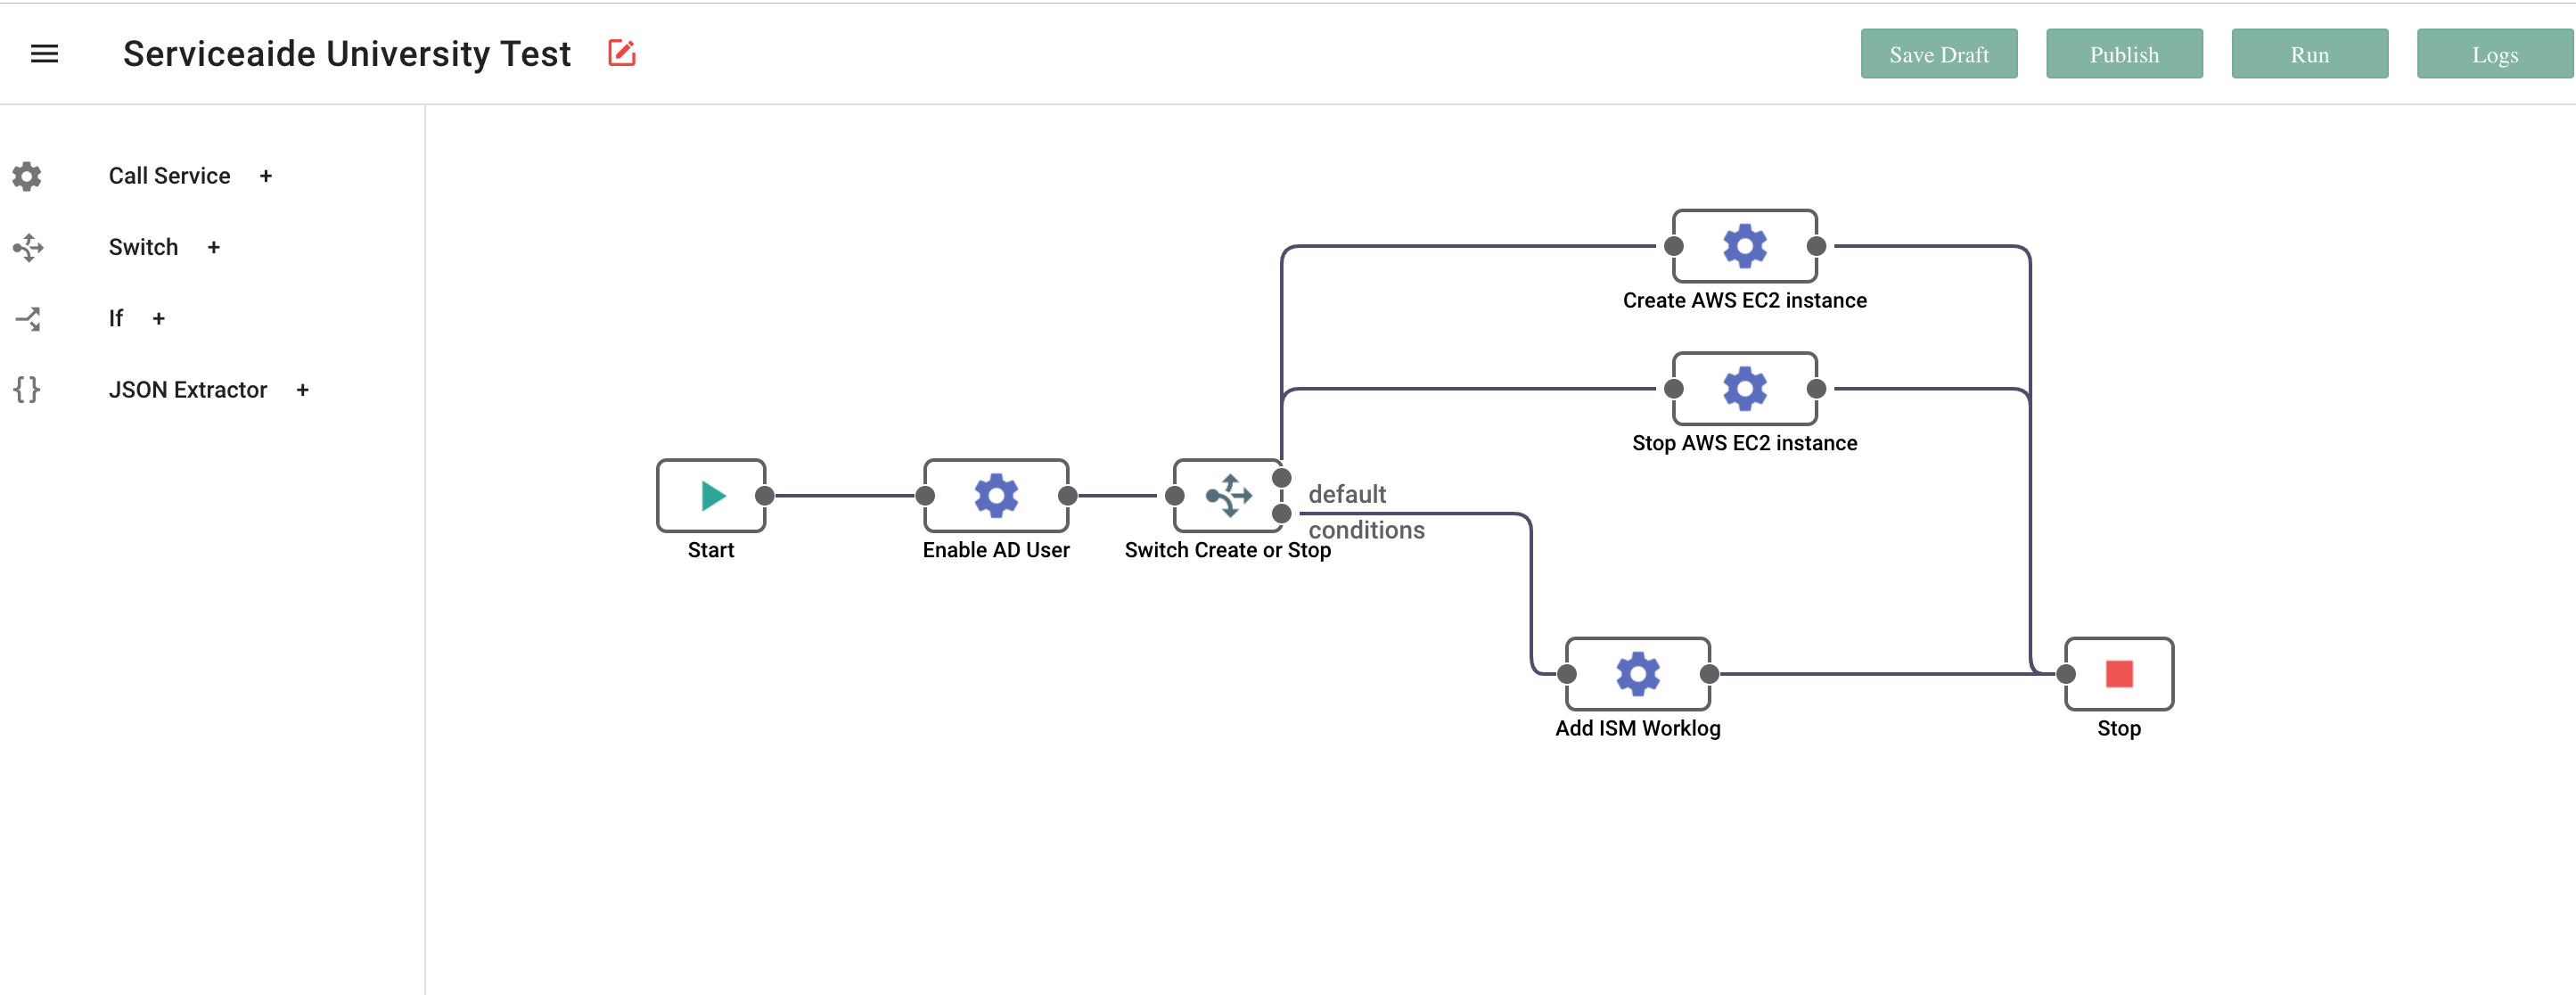
When you open an out-of-the-box Workflow, you will see the entire flow on the canvas. A pictorial workflow is on the right pane, controls on the left pane and action buttons on the top bar.
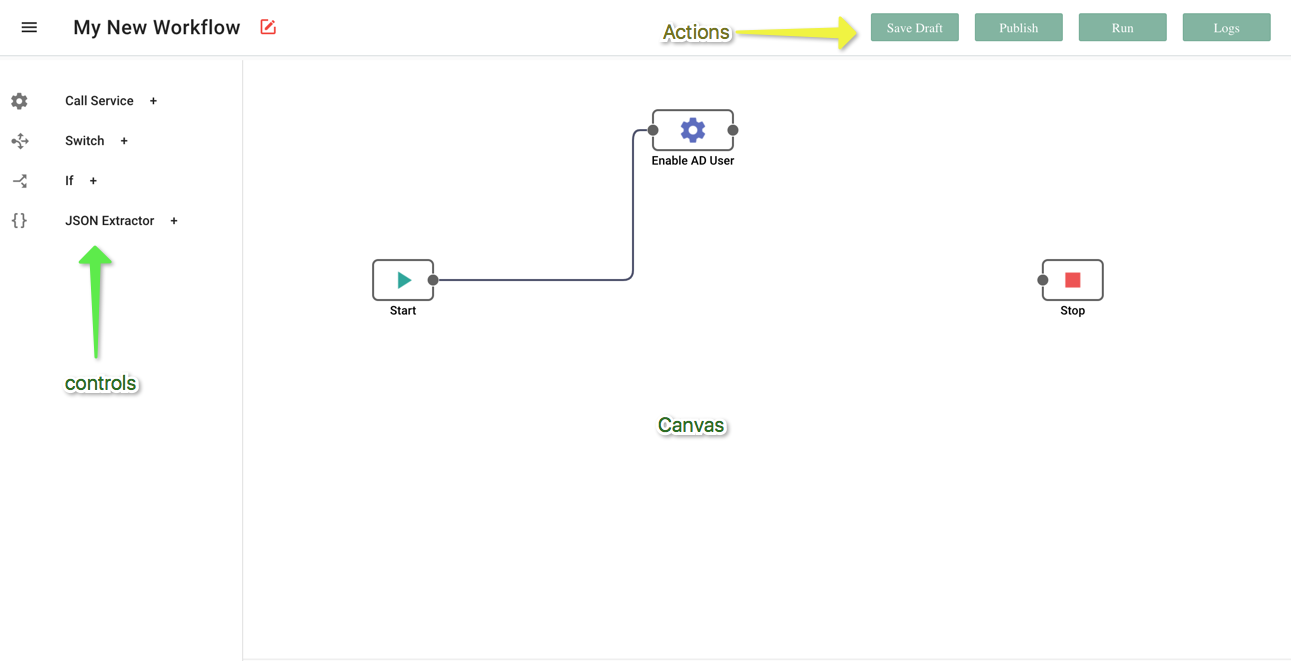
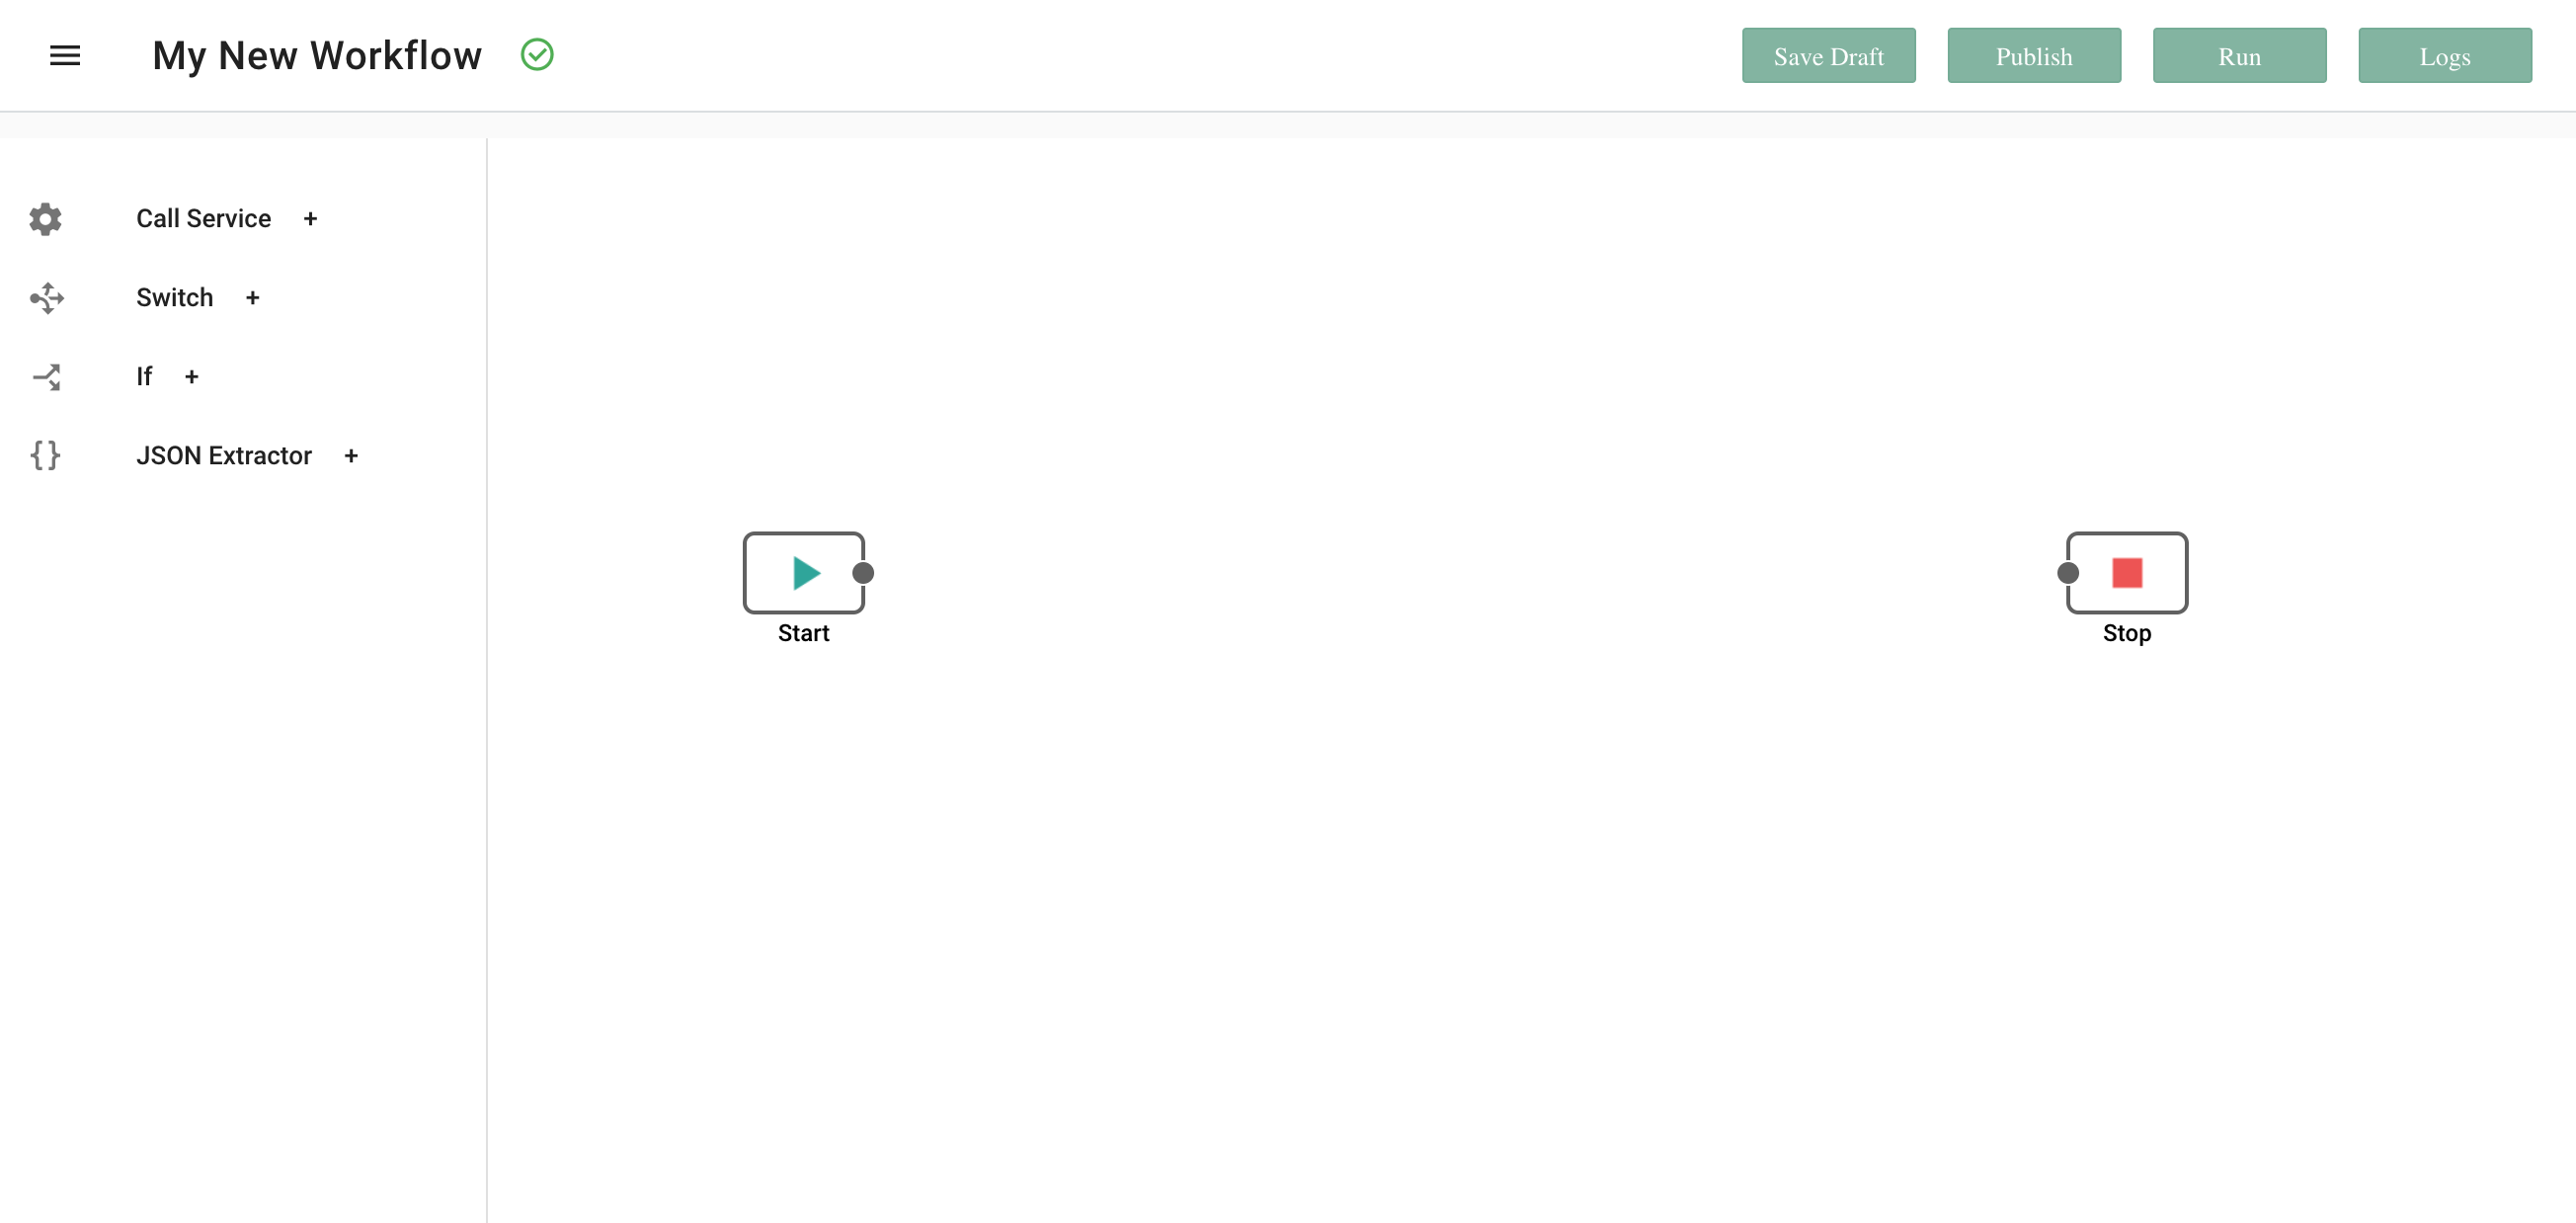
If you create a new workflow, it displays a blank canvas along with the Start and Stop Activity block.
Start
This is the Start point or the first step of the workflow. It has two tabs, Input and JSON Schema.
Input:
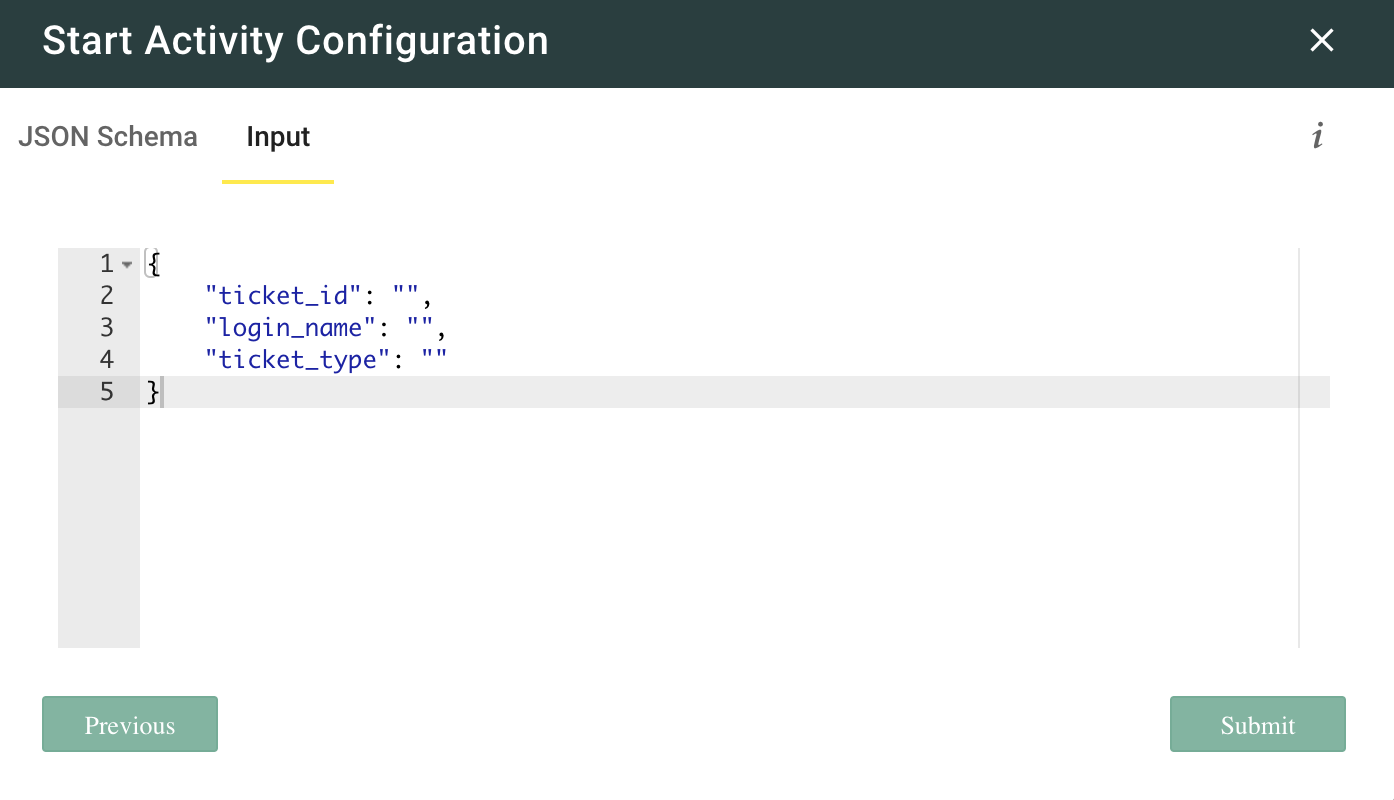
This block is where you enter the input field IDs required for your workflow.
The values for the input fields mentioned here will be overridden if this workflow is triggered through third party application (for example, data received from ISM ticket) when the inputs are passed through that application as a JSON body.
JSON Schema:
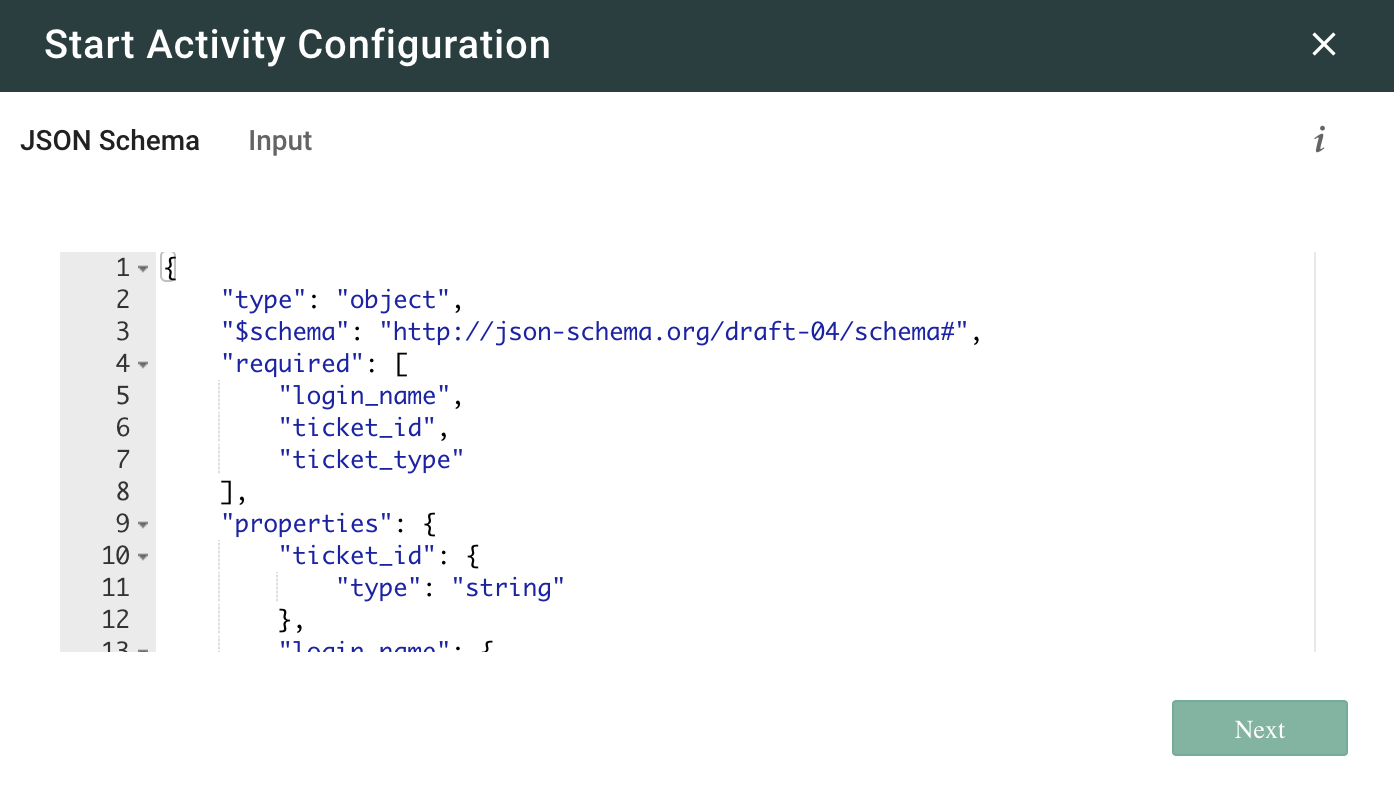
You can have your own JSON schema structure in this block. This activity block defines the input field IDs that is, the data-types of the input field IDs, which fields are required, which ones are optional.
You can make the fields as required or remove an input field from the required array block if you do not want it as a mandatory field in your service.
Fields you mention here will automatically be created in your Automation Service once you publish your workflow.
The entire Input JSON is passed across all the workflow activity blocks as “context” JSON object and you can extract any input fields and pass it to your next block in the workflow.
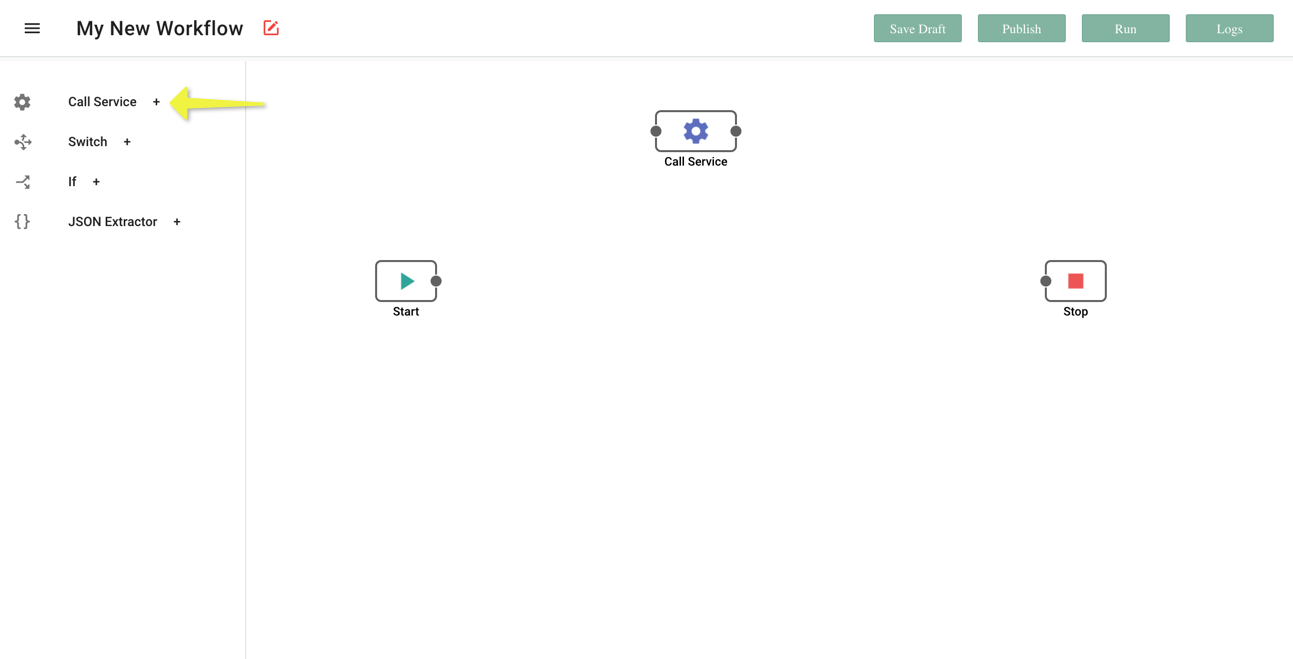
Call Service+
In this block you can add and configure the operation which you want to use in your workflow. Click on Call Service+. This will add a new Call Service Step to the canvas.
Double-click the Call Service Step to configure it.
Under Activity Details fill in the required activity details such as – Activity Name, Activity Purpose, Select a service. Activity Id will be autogenerated which is the “key” to fetch the specific activity JSON object in your activity context. Under Service Input define the input field IDs for that Operation.
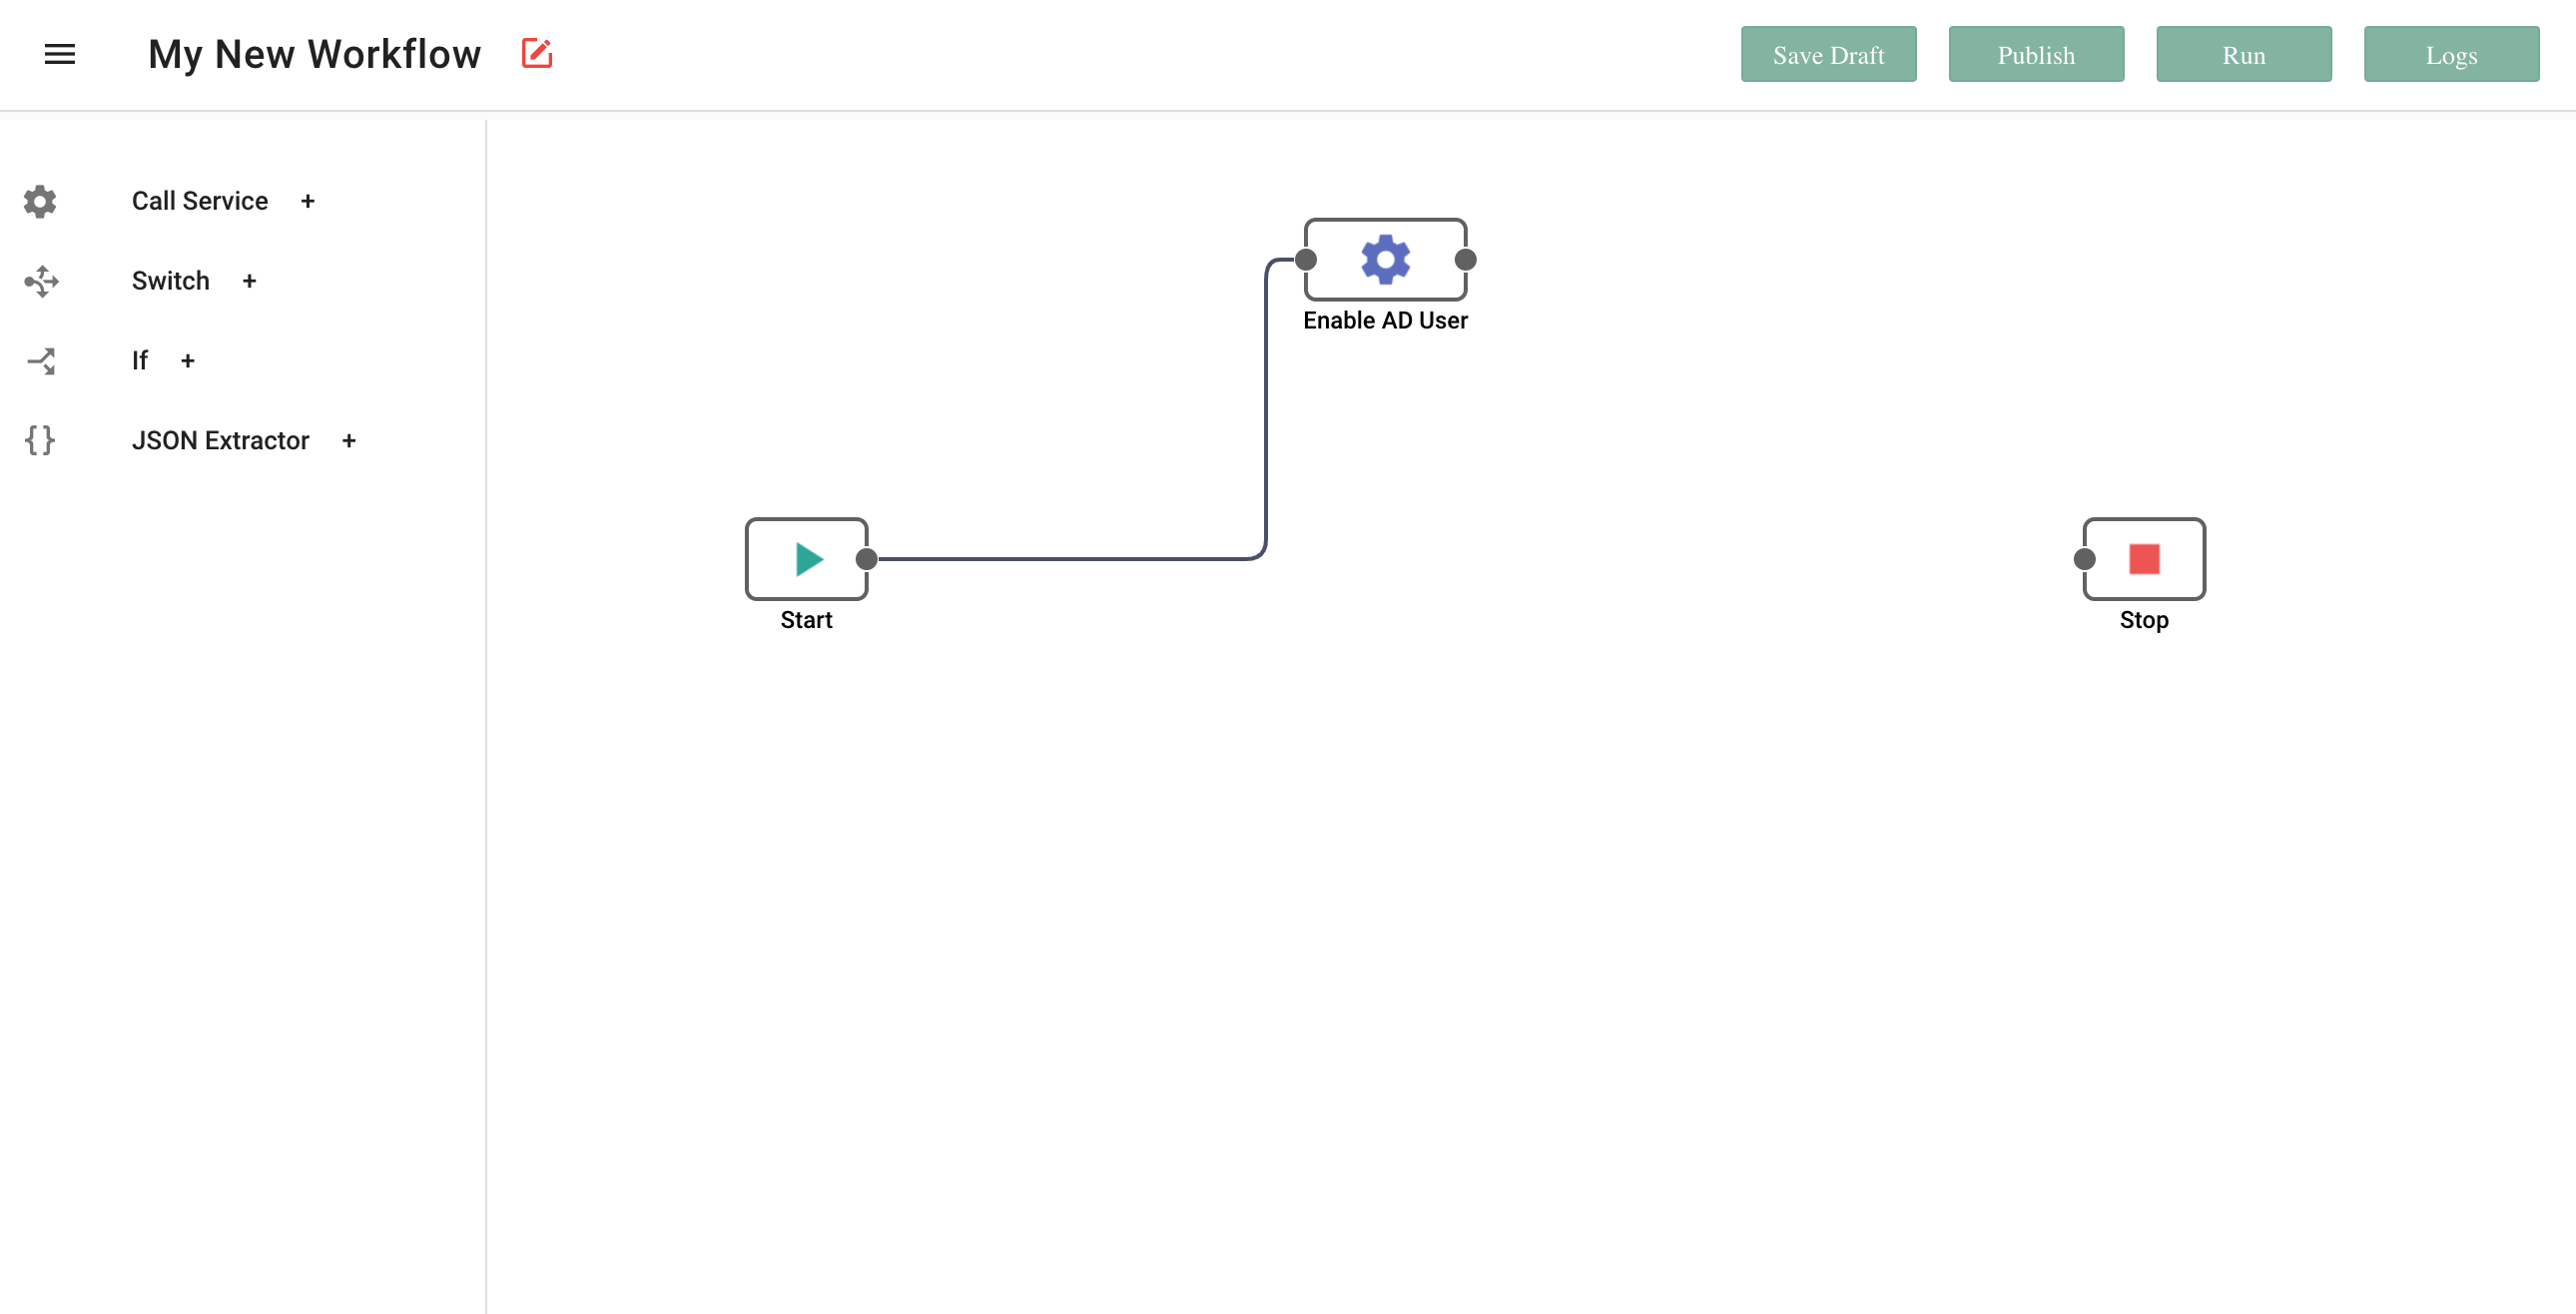
To connect two steps just connect the outlet point of previous step to inlet point of next step and the Link will appear.
Switch+
When you need to configure more than one if condition in the workflow, use the Switch step.
A switch can replace multiple if checks.
The switch has one or more paths and an optional default.
You can fill in the Activity title and Activity Purpose. Activity Id will be autogenerated which is the “key” to use when you want to refer to this step.
To link more than one step to the Switch, hover your pointer over the outlet point of the Switch and link to the desired step as shown in screenshot below.
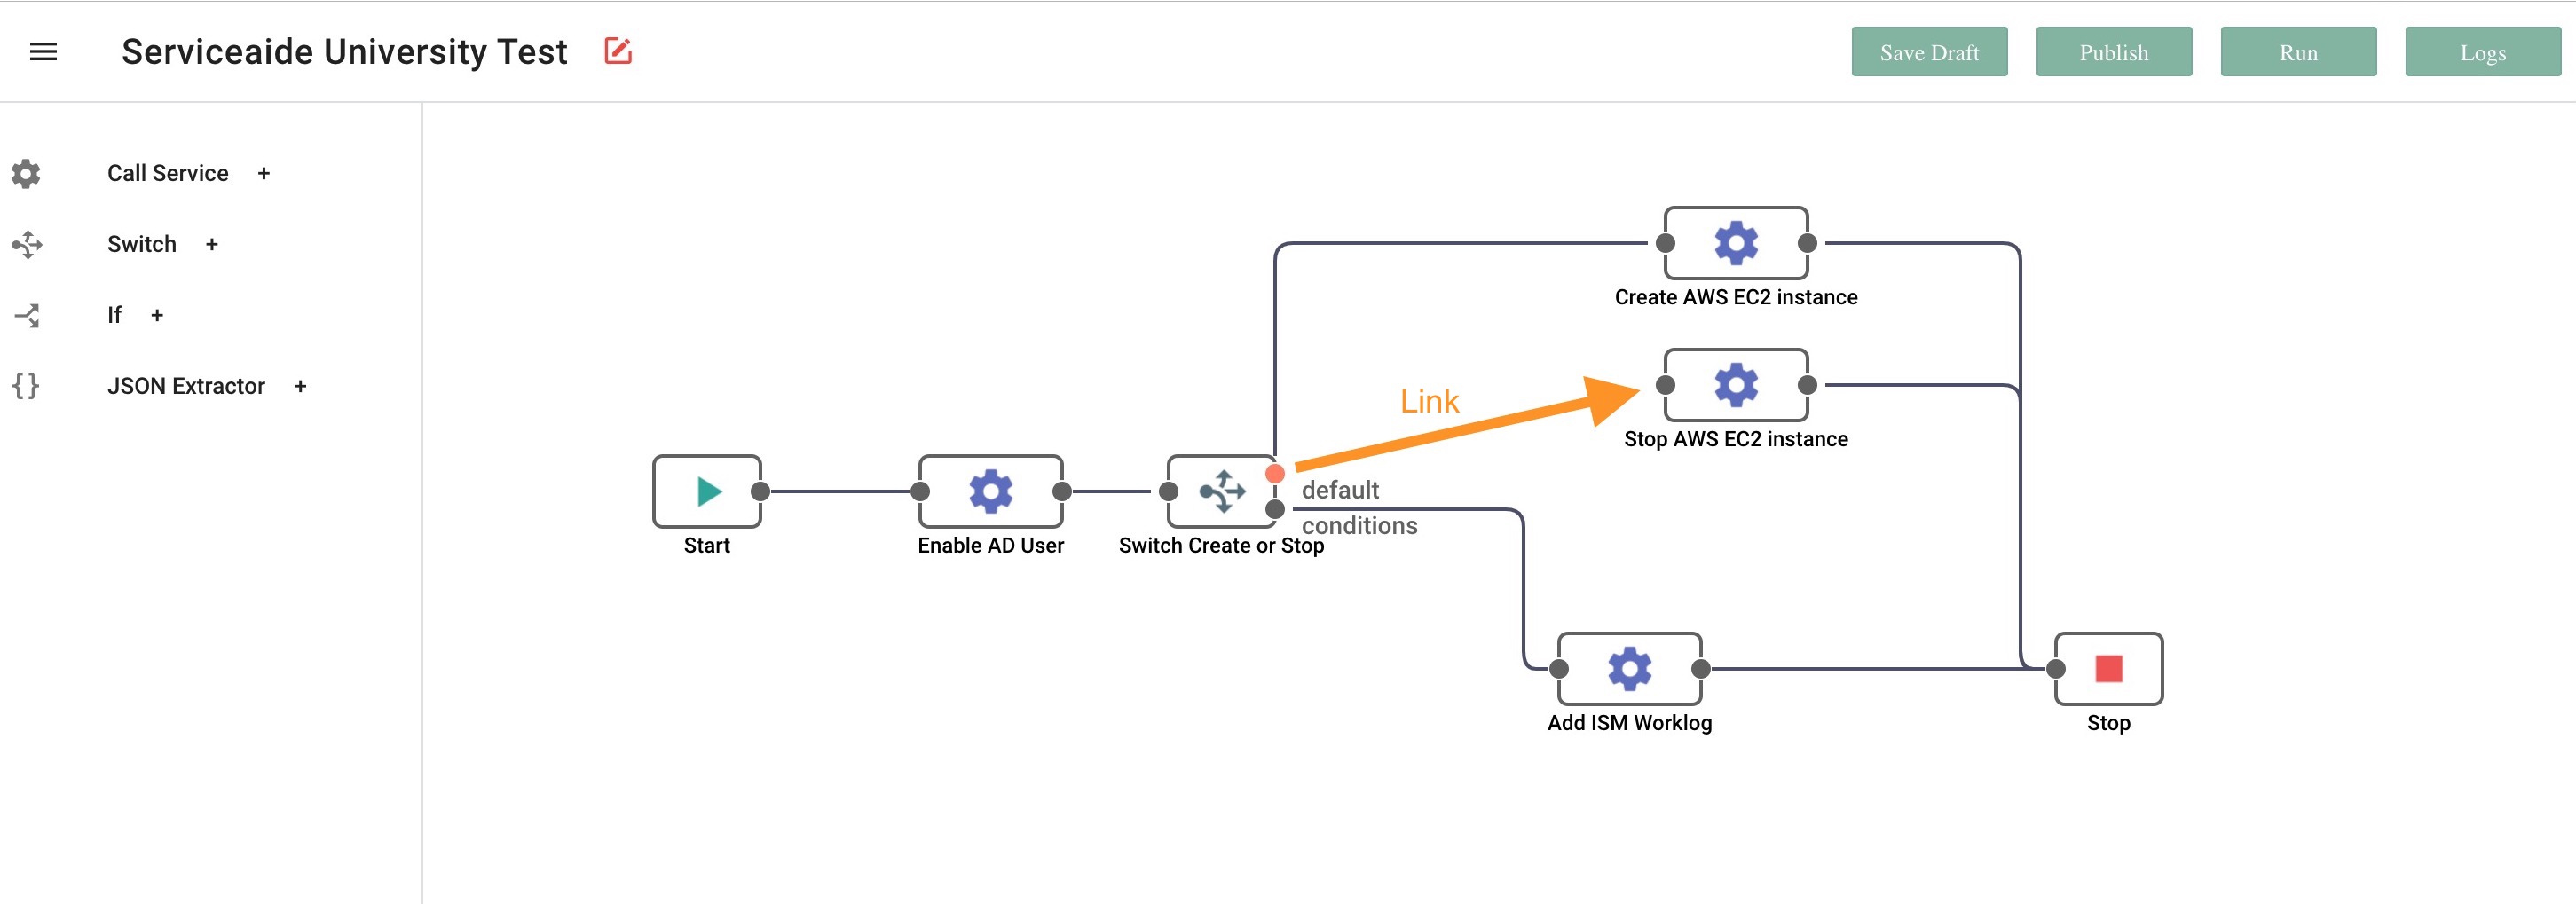
To define the conditions to be considered when analysing multiple steps, you need to configure the Activity Link.
Double-click each link to open the Switch Activity Link Configuration.
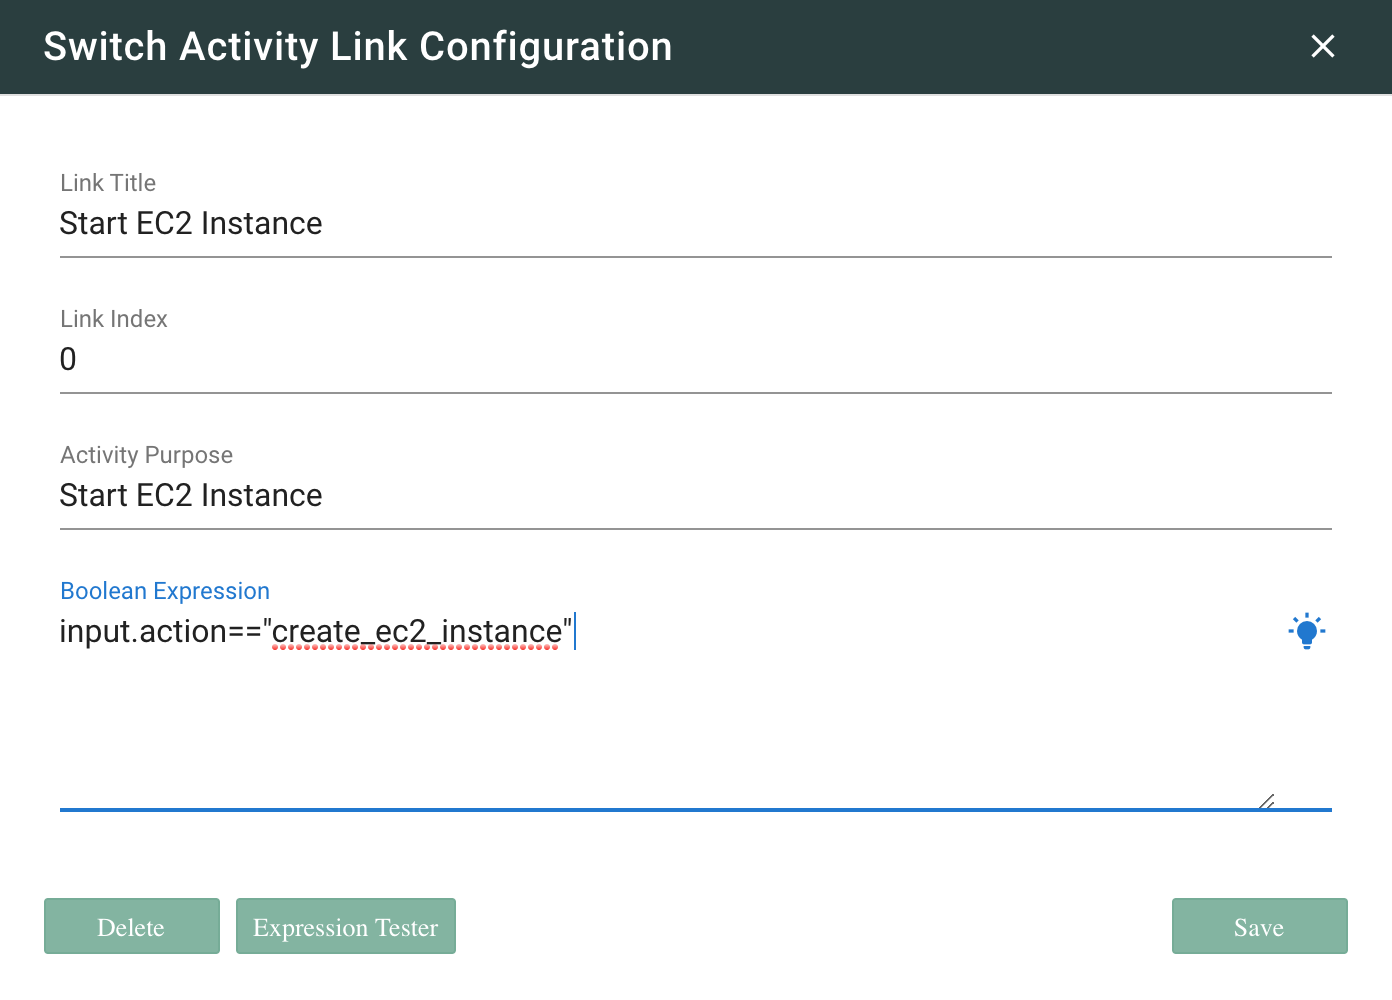
Link Index: This is a numeric number starting from 0 which will let the user configure the priority in which condition is to be evaluated first while case execution. Link Index 0 will execute first, followed by Link Index 1 and so on.
Boolean Expression: This is a an expression which will return a boolean true/ false value after evaluating the given expression condition.
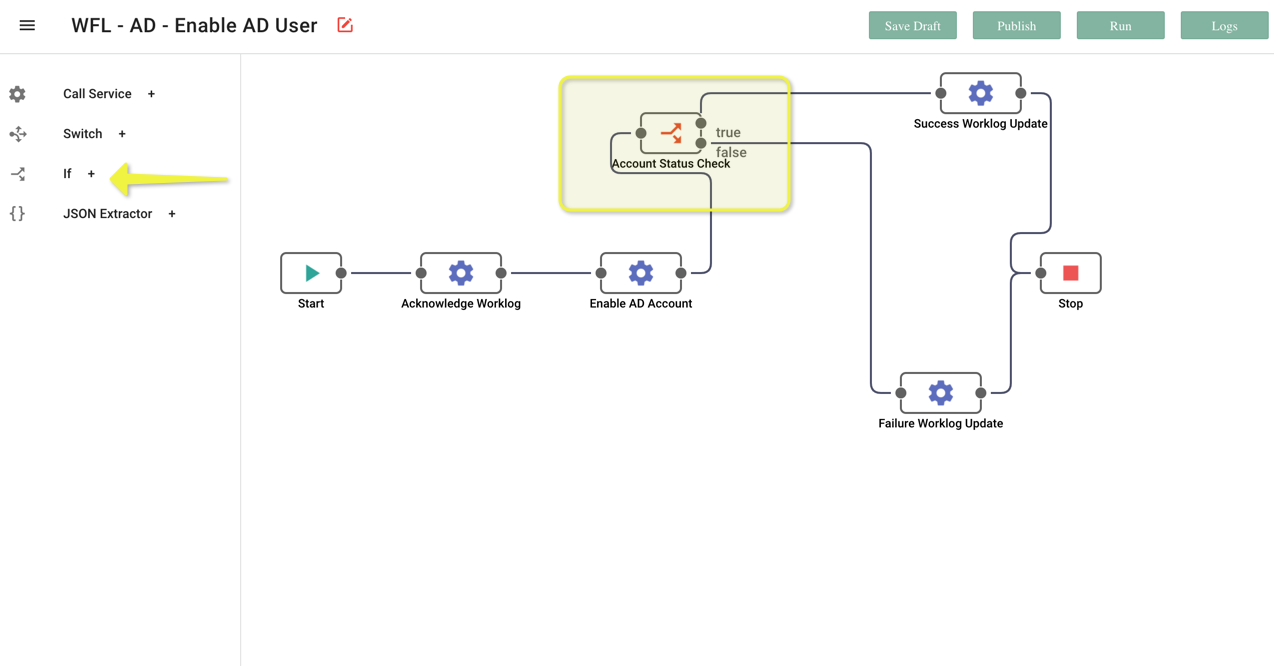
If+
When you need to introduce conditional branching in your workflow, use the If step.
It helps you configure two different paths based on the outcome of the previous step or a general condition.
To add a new If (True/False) condition, click on If +.
Double-click the If step to configure it.
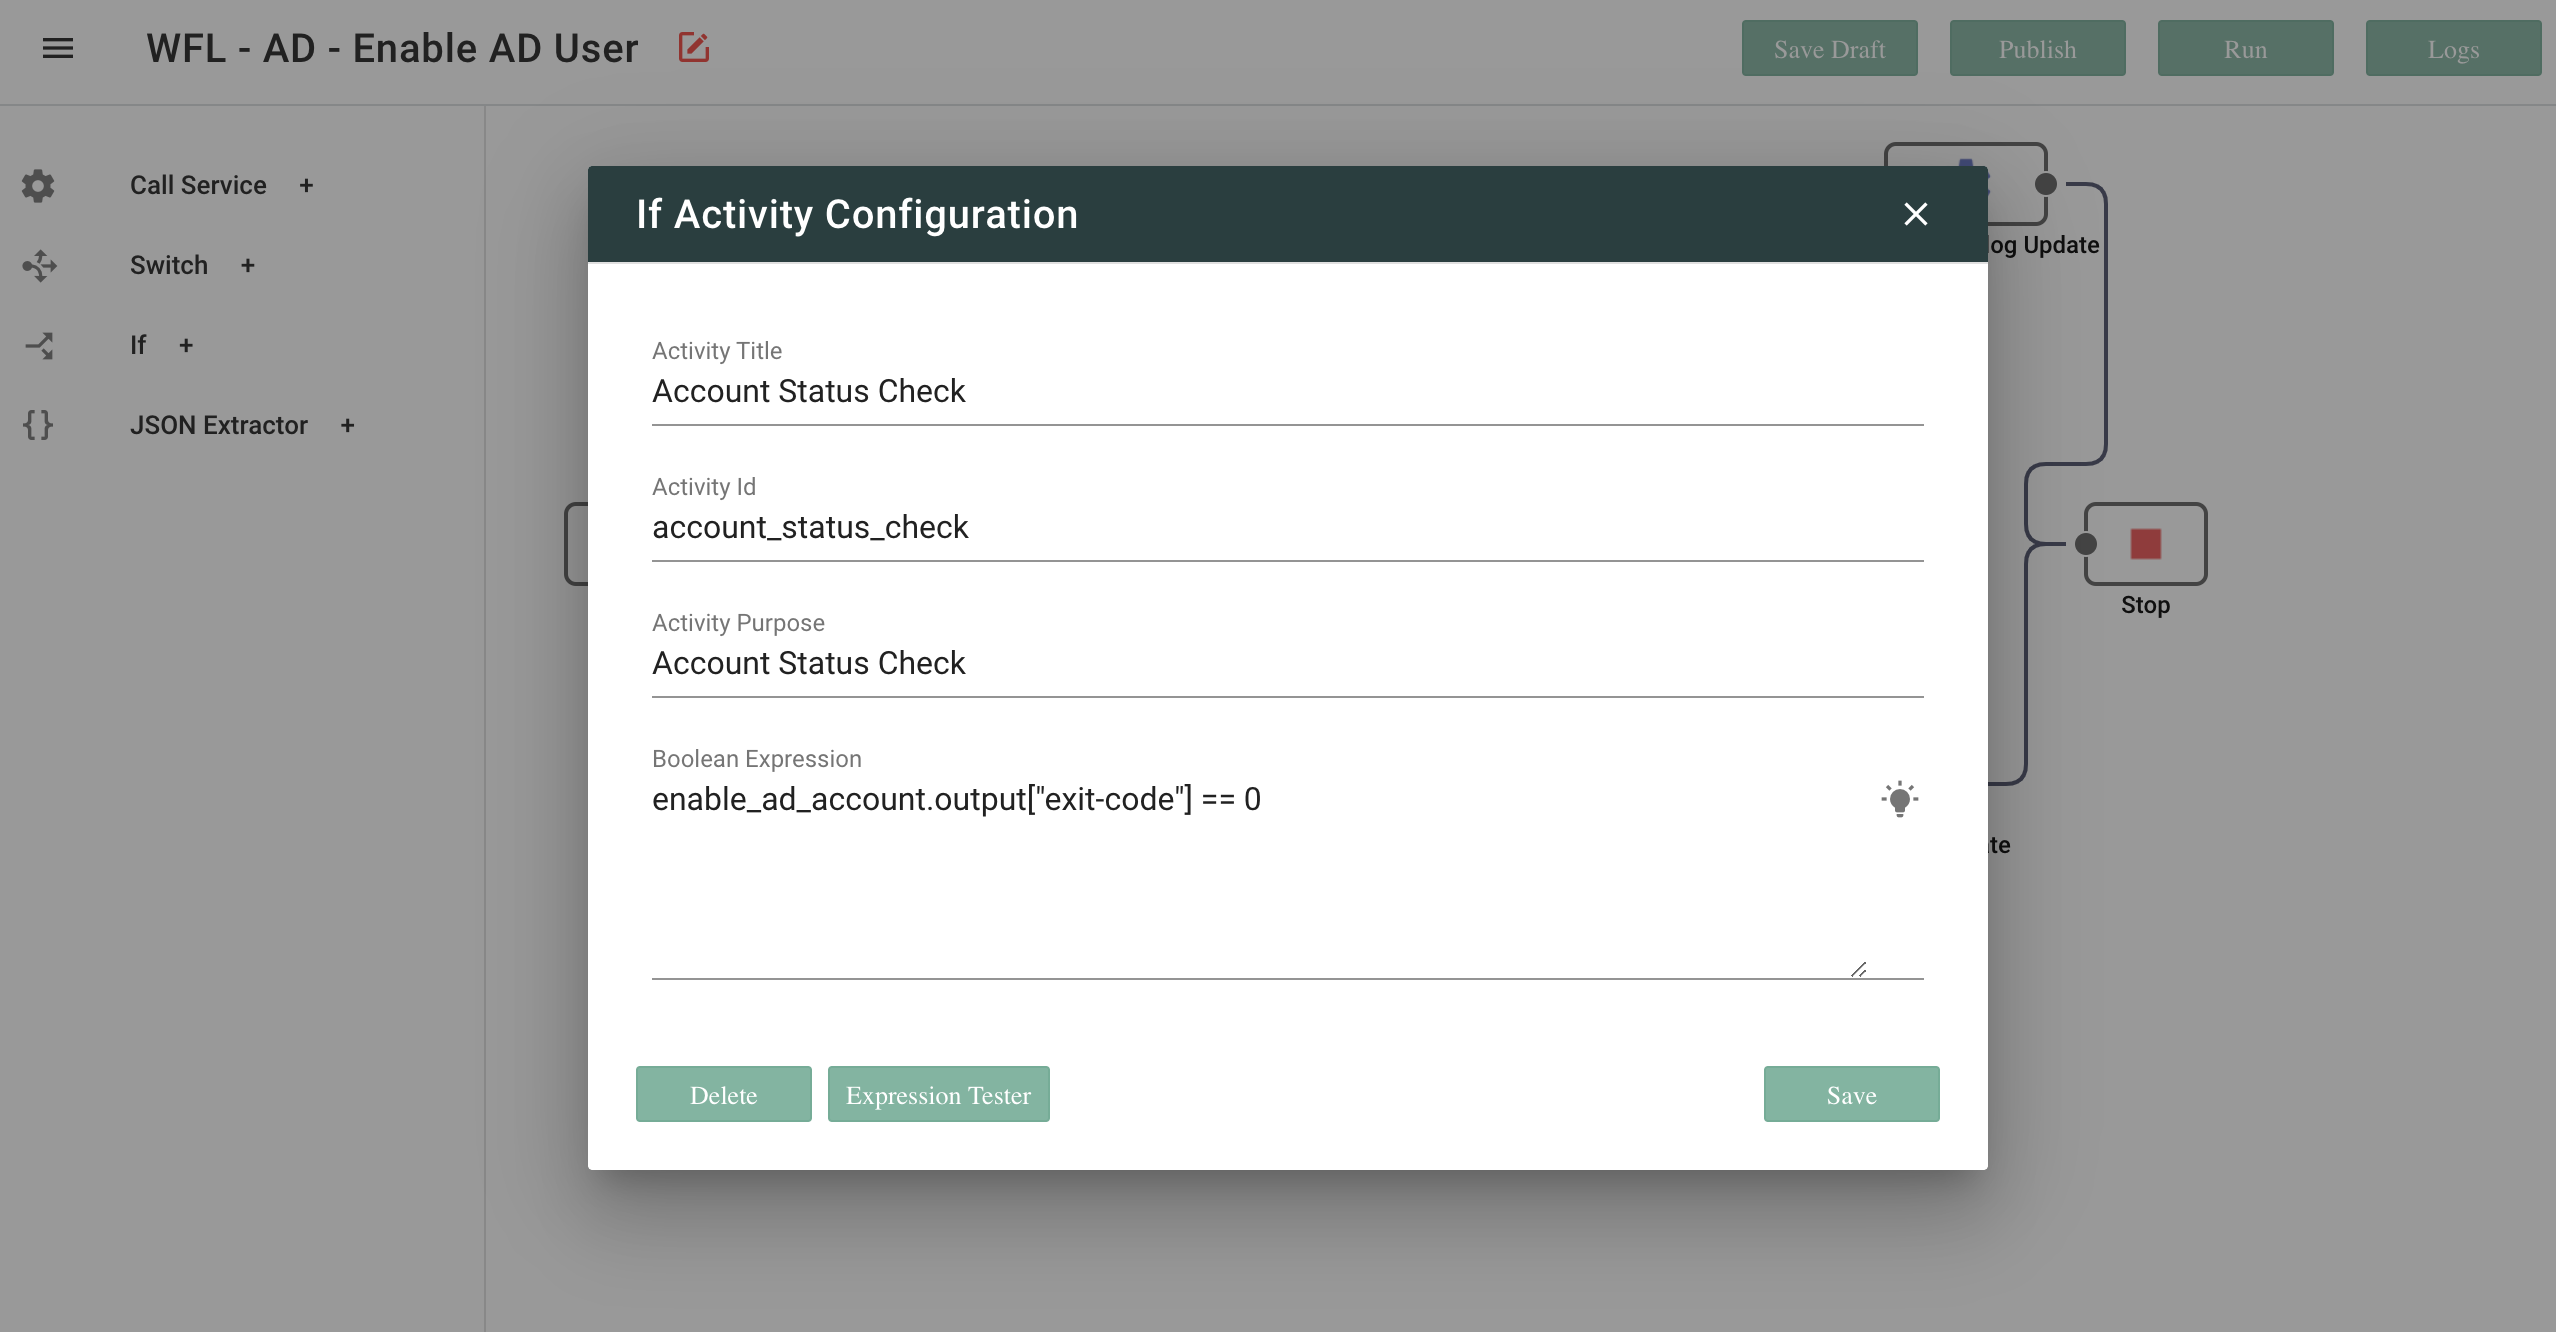
Boolean expression will return a boolean true/ false value after evaluating the given expression
Under the Boolean Expression field mention the criterion that will be considered to decide whether condition is true or false.
In the example above 'enable_ad_account' is the Activity Id of the previous step. This is used when the output of the previous step will help determine the true/false condition.
JSON Extractor
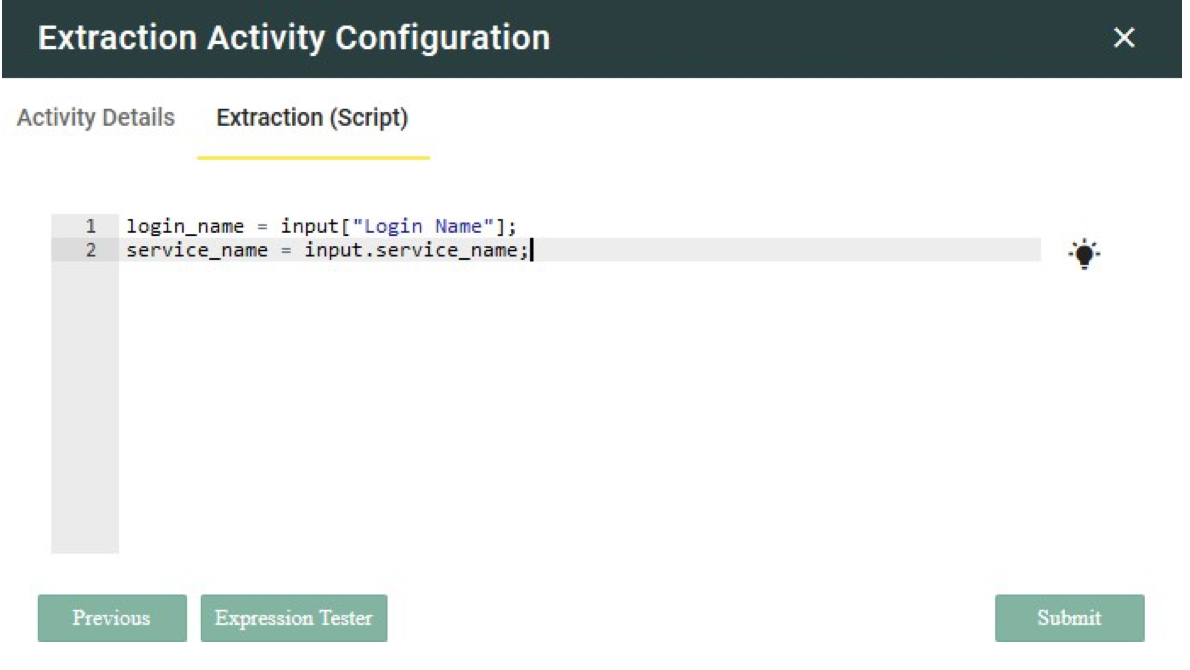
This activity is used to extract or parse your JSON input or JSON context.
A workflow designer can write a simple script to extract / parse any key-values.
Save Draft
Click Save Draft to save your Automation workflow as a Draft. When the Automation workflow is in Draft state it cannot be linked to any Process Workflow unless published.
Publish
Click Publish to publish your Automation Workflow as a Service.
Once you publish your workflow, it appears under the Workflow Services tab (Automation >> Workflow Services).
A published workflow can be added into another workflow.
Run
When you supply the input parameters manually to the Automation Workflow, click Run to execute the workflow manually.
Logs
Click Logs to view the logs when the Automation Workflow is executing.
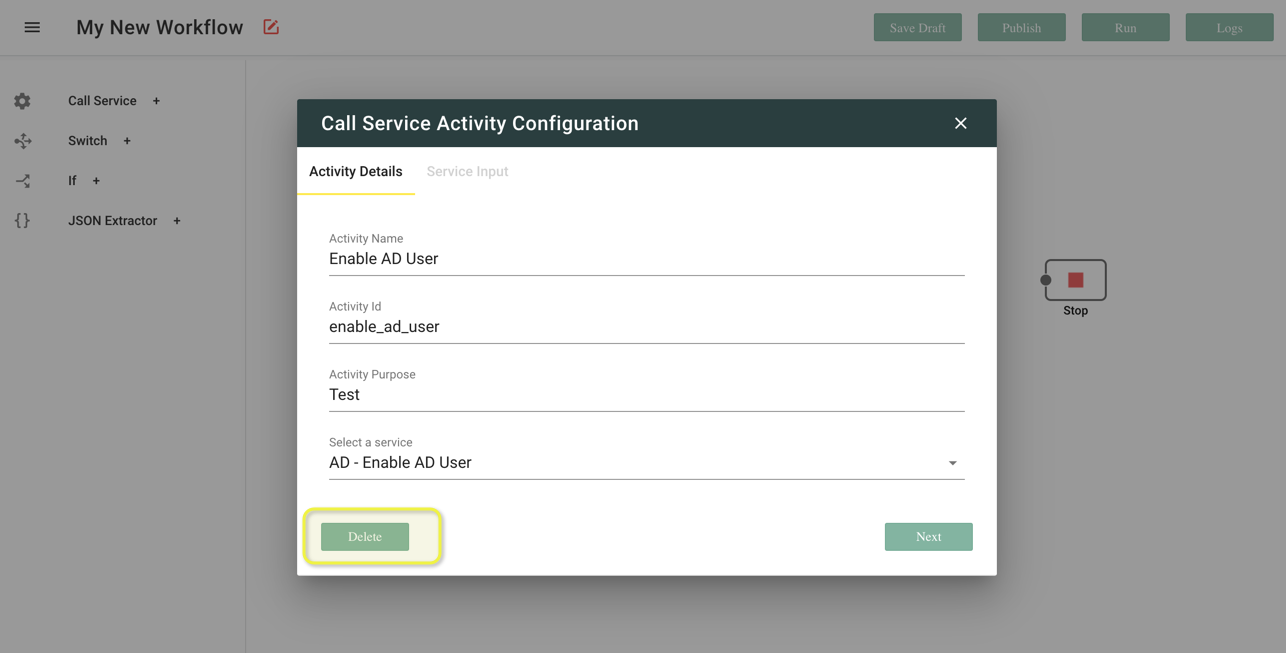
Delete
To delete a specific step from your Workflow, double-click the step and click Delete at the bottom left of the window.
© 2019 Serviceaide 1-650-206-8988 http://www.serviceaide.com info@serviceaide.com