| Table of Contents |
|---|
...
Click on Filter.

The Simple filter section lists the already saved filters. You may select and apply one of the existing filters or create a newfilter.
Click on New.
Add the required criteria such as Domain, Topic, Creation date, or State.
To save the filter for future use, add the Filter name and click Save.
Click Apply filter.
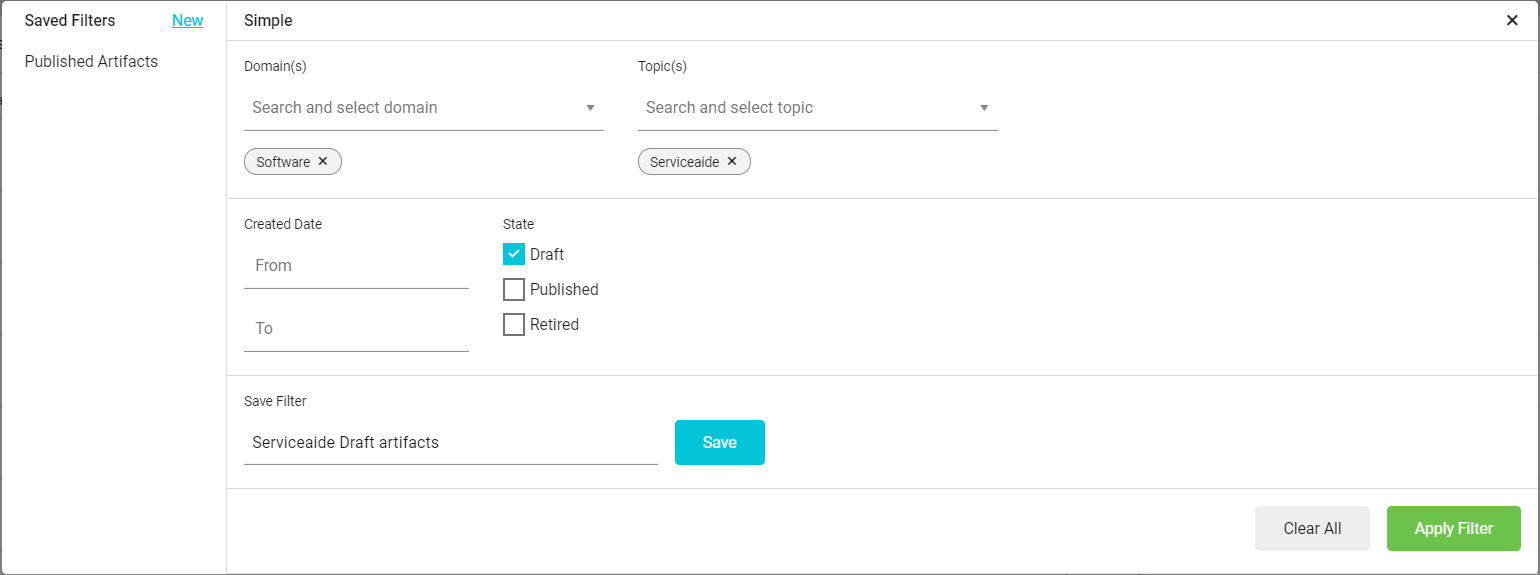
The Artifact list is filtered based on the applied filter criteria. You may also search for an Artifact by Title or Summary.
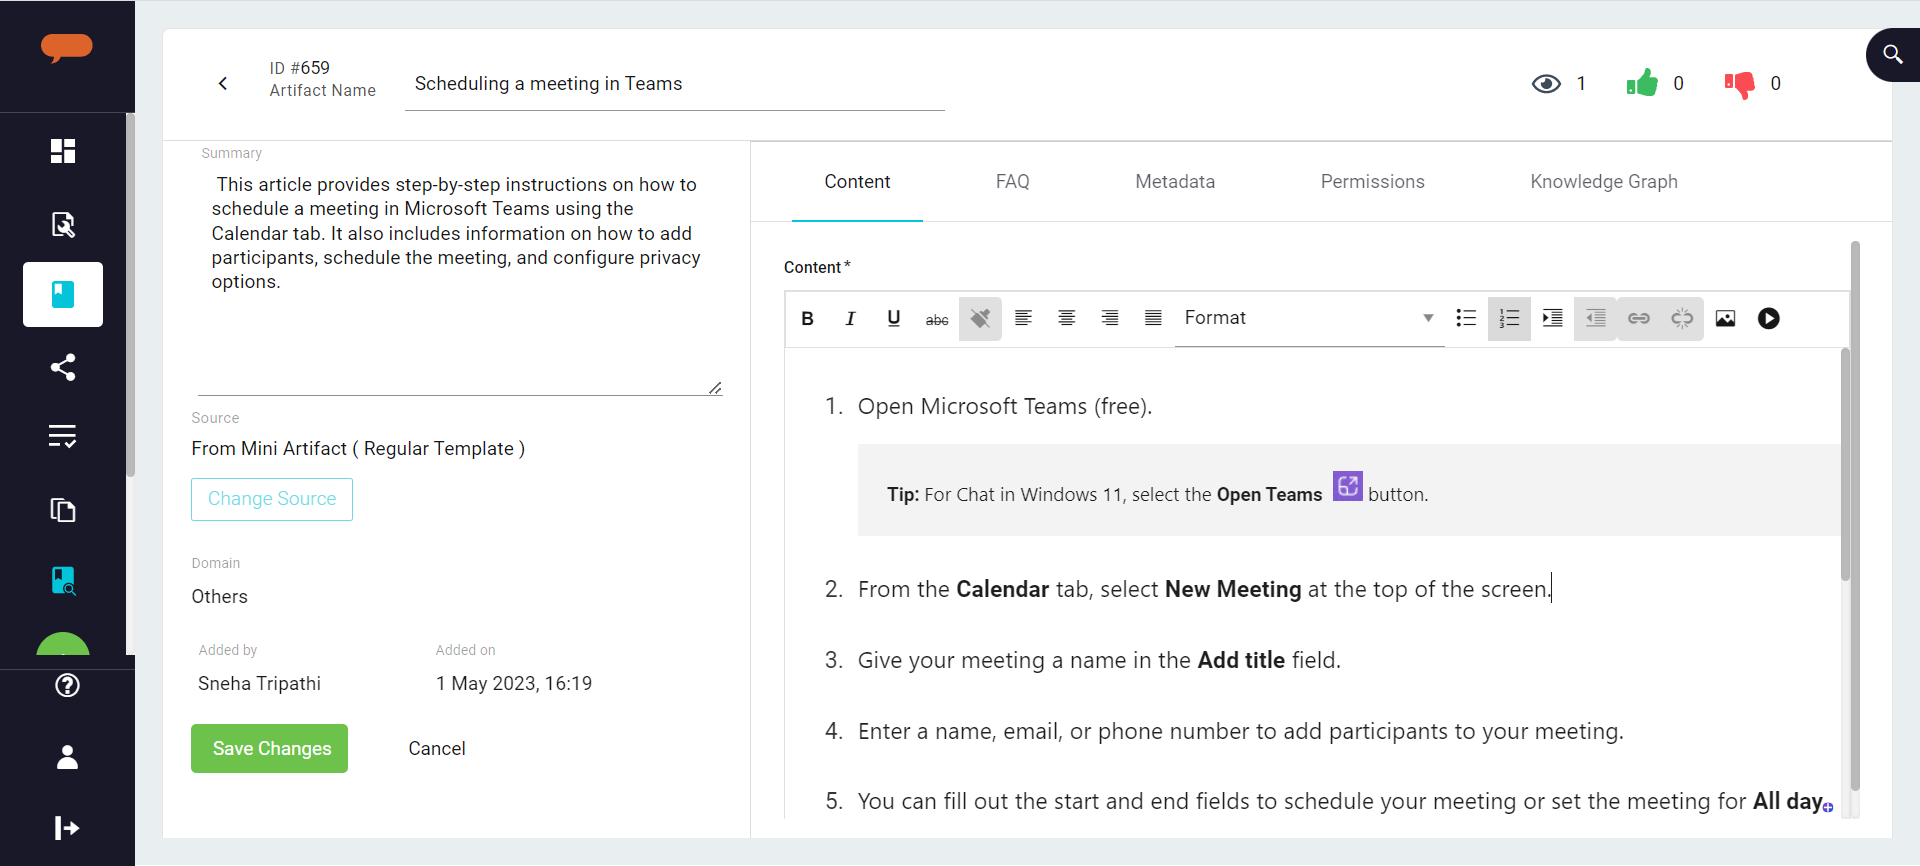
Select the required Artifact to view the details such as Summary, Content, QnA pairs (FAQs), and Artifact Metadata in Quick View.

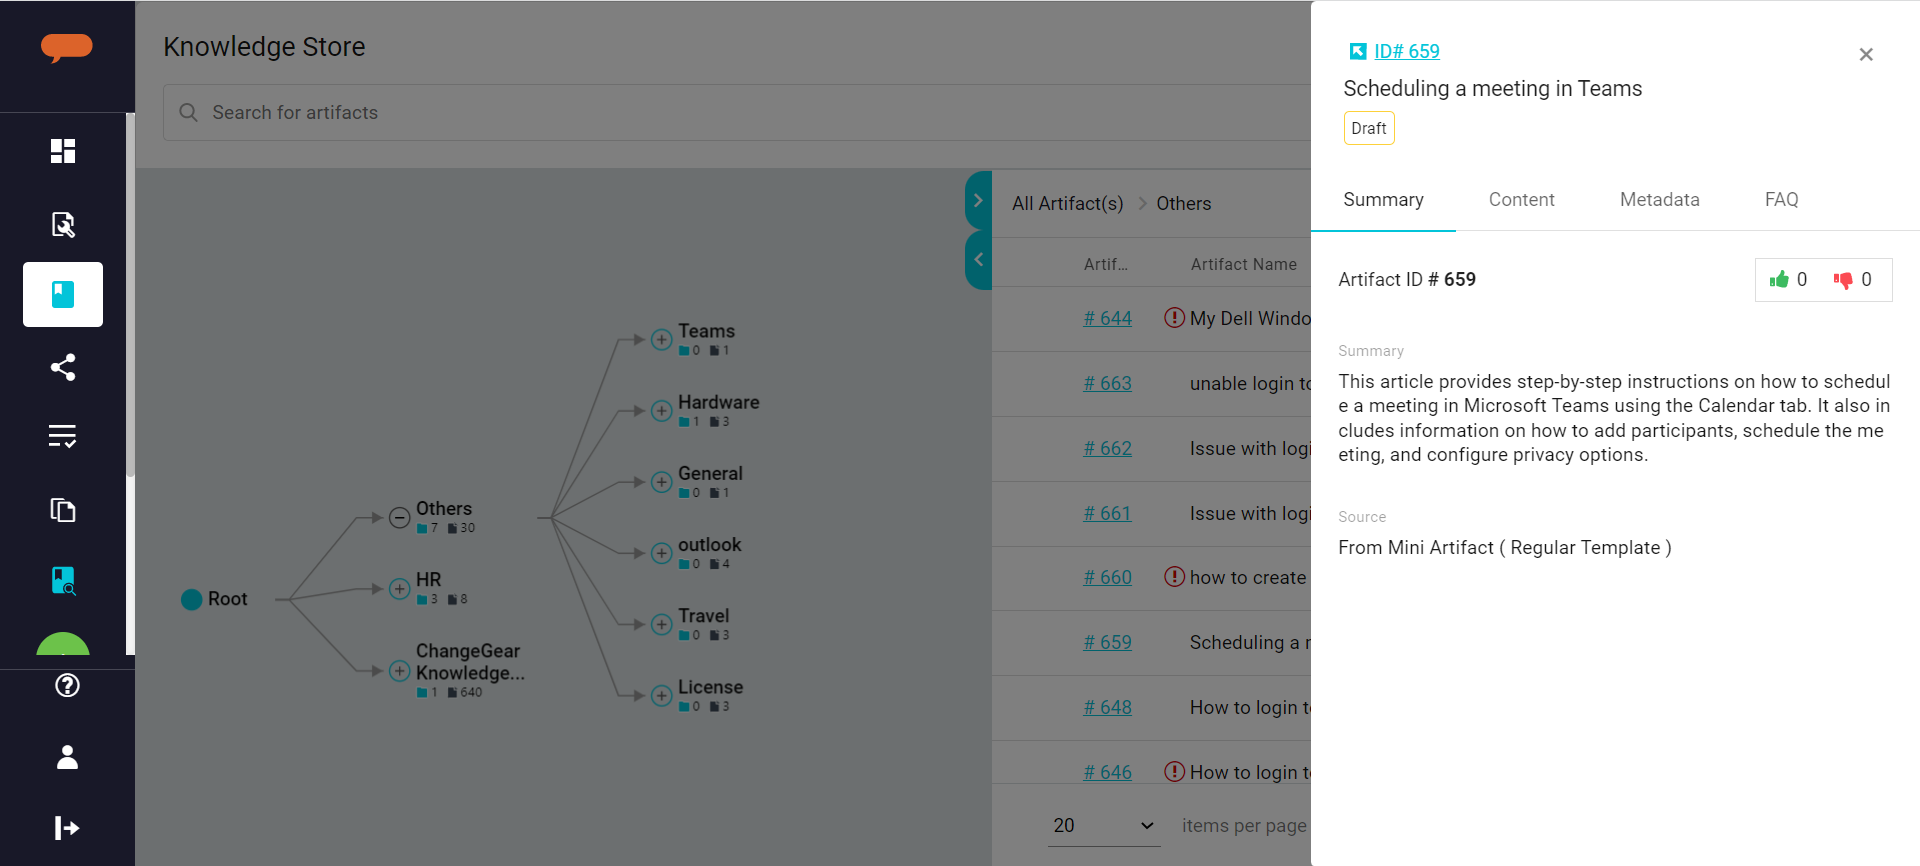
Click on Artifact ID to view the Artifact Detailed view. Here you can review and update the Artifact as required. The screen is divided into below sections:
...
Artifact ID: The unique sequence number assigned to the Artifact once it is created in Luma Knowledge.
Artifact Name: The Artifact name assigned during Artifact creation
Status: Indicates the current Artifact status.
Summary: Summary added to the Artifact during Artifact creation or created by Luma automatically. Information, in Summary, is used to identify the Ontology of the Artifact
Source: This is the base document, URL, or Template used to create the Artifact in Luma Knowledge. If the Artifact is created using a Document or Web URL, you can click on the Source link and view the source document.
Domain: This is the Domain that is manually assigned to the Artifact when it is created in Luma Knowledge.
Added by: Details of the users who created the Artifact.
Added On: Date and Time when the Artifact was created in the system.
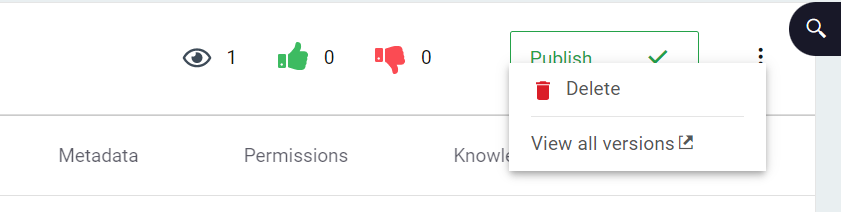
Upvotes: This indicates the Positive feedback received for the Artifact by the end-user
Downvotes: This indicates the Negative feedback received from the end-user for the Artifact.
Version History: This is the list of the historical versions of the artifact created over time. The Version history is available inside the menu. Click on 'View all Versions' to view the list of all the versions created to date.

| Info |
|---|
Version History list displays all Major and Minor Artifact versions. If Tenant configuration → Create artifact minor version flag is set to False, Minor versions are not displayed in the list. |
...
Select the Artifact and navigate to the Artifact details screen.
In the option, select Checkout. The Artifact is moved to Draft status and opens in Edit mode.
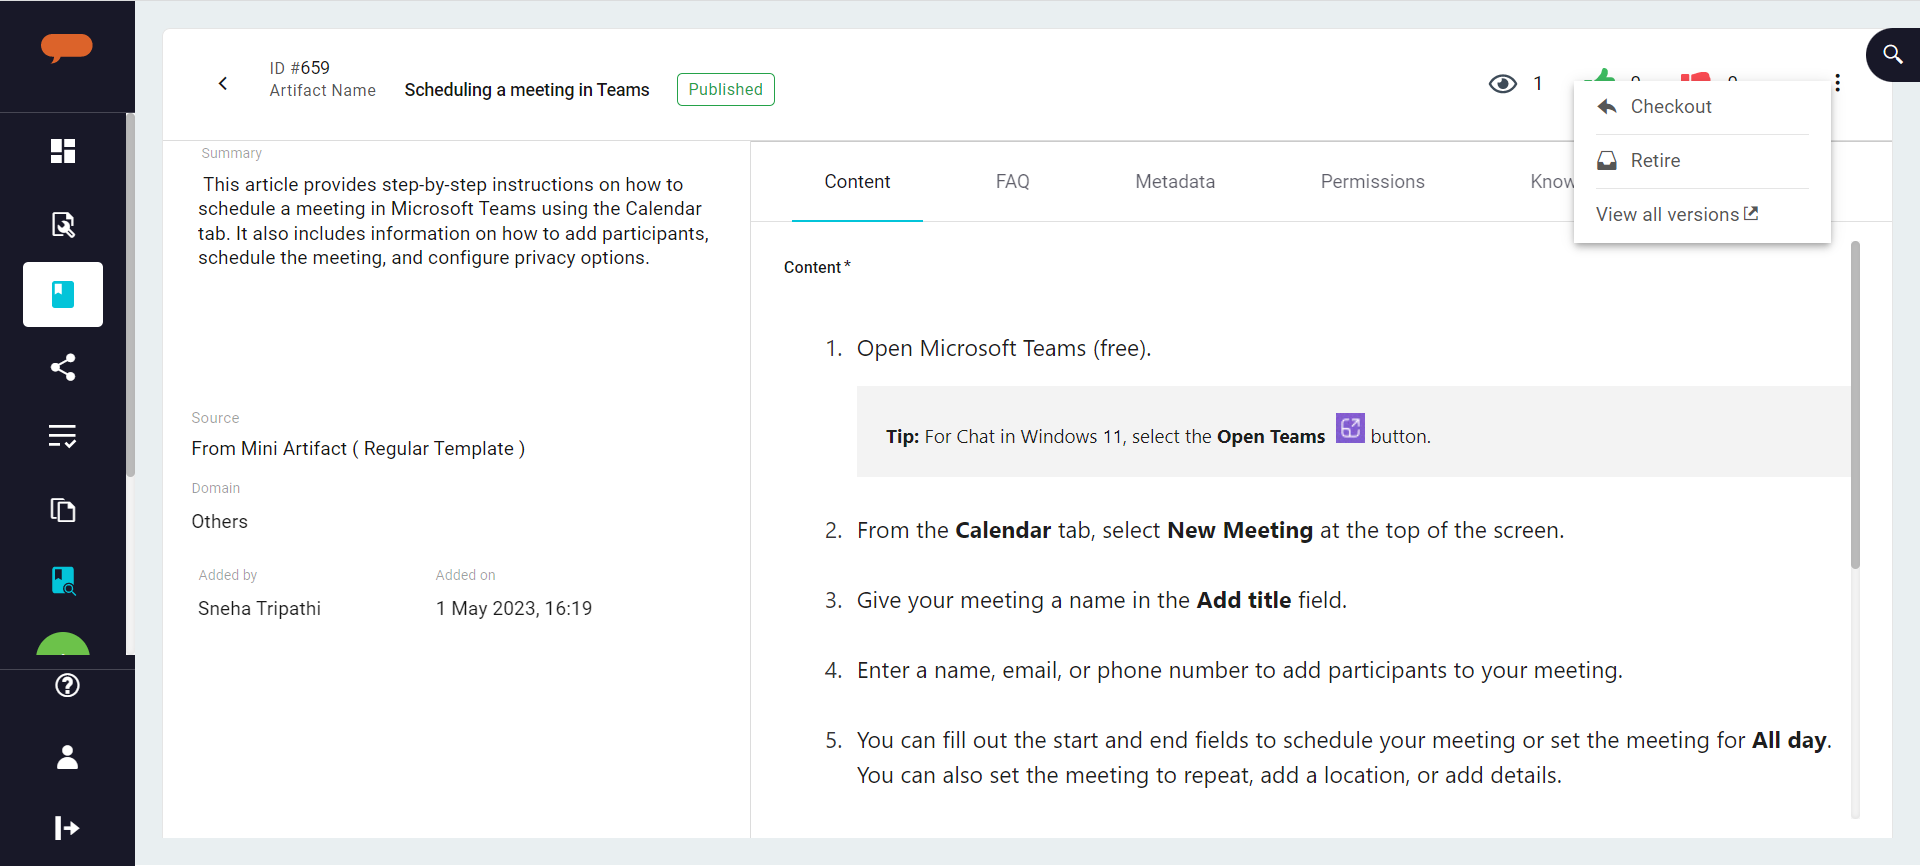
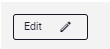
Click on Edit to edit Artifact details.
If the Tenant configuration is set to create minor versions on Edit, i.e., Create artifact minor version flag is set to True, a minor version of the Artifact is created.
You may now update the Artifact Name and Summary.

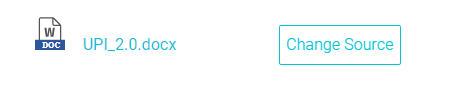
In case the Artifact source type is Document, you may update the Source document.
Click on Change Source.
Browse the new source document.
You can update the Artifact details in the content section. The section is available for artifacts created manually using a template or by uploading a document with the template.
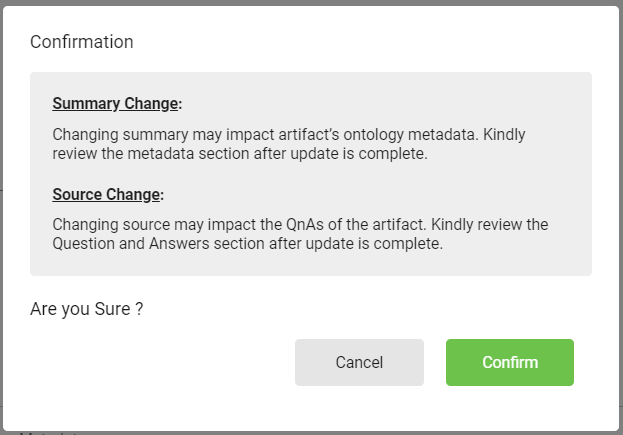
Any update to the Artifact details triggers Ontology regeneration. Verify the changes and click on Confirm to continue with the update.
Updates are saved.
The Artifact is added to the parsing queue for Ontology generated based on the updated summary.
If Open AI is enabled, a request is sent to regenerate the Summary, FAQs, and Keywords based on the updated content. The new content generated is added to existing content.
If the Source document is updated, QnA pairs are updated based on the new source document. Luma Knowledge creates new QnA pairs and removes the Obsolete QnA pairs. QnA pairs manually created or updated by the curator are retained.
...
Navigate to Knowledge Store and open the required Artifact.
On the Artifact details screen, scroll down to the Permissions tab.
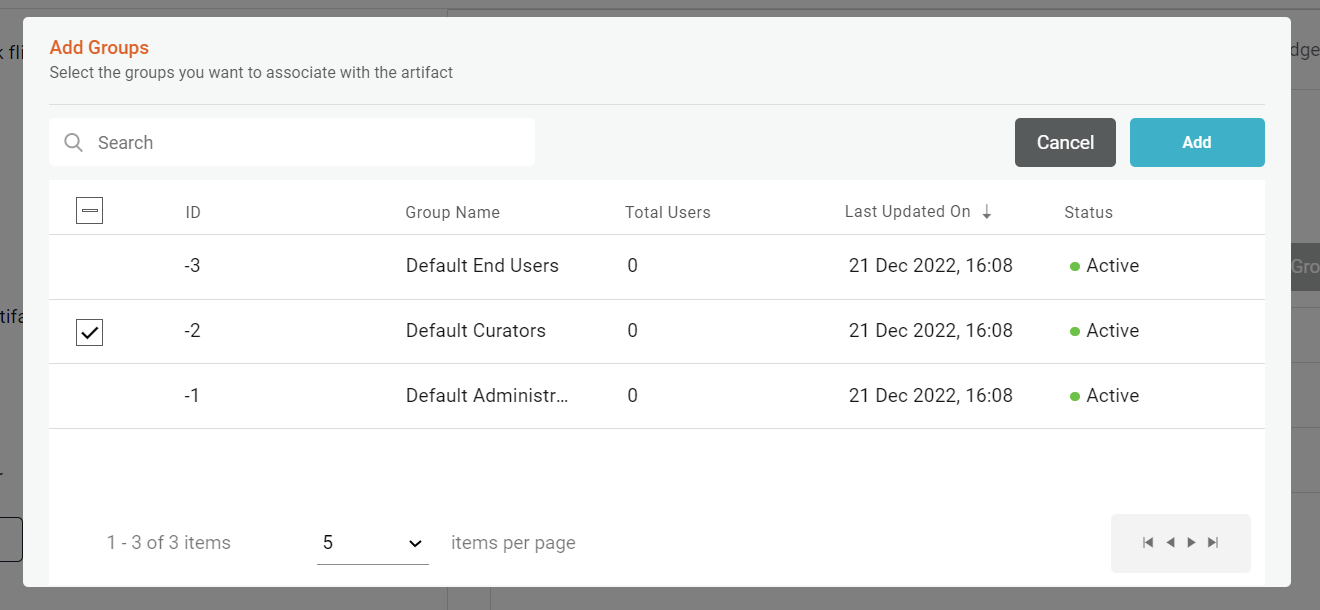
To assign a Group:
On the Groups section, click on Add Group.
On the Groups list, select the required group (s).
Click Add.

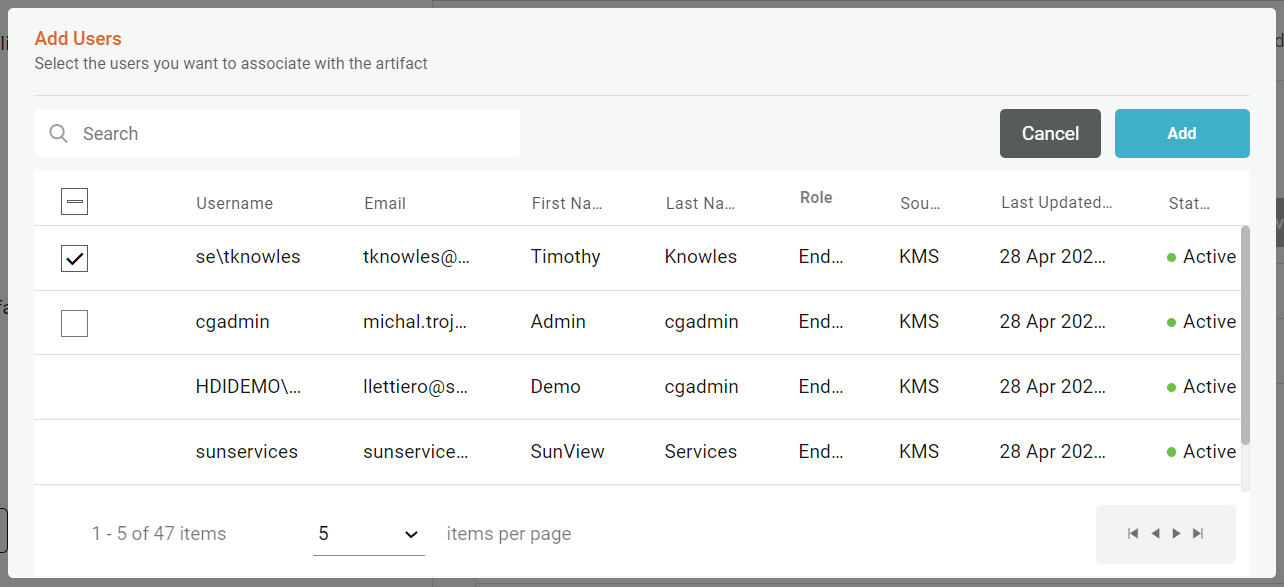
To assign a User:
On the Users section, click on Add User.
On the User’s list, select the required users(s).
Click Add.
...
On the Knowledge store, select the artifacts to be exported. You may skip the step if you want to generate a report on all artifacts available in Knowledge Store.
Select Export Artifacts in the options menu.


A Report is downloaded on your local machine.
...