...
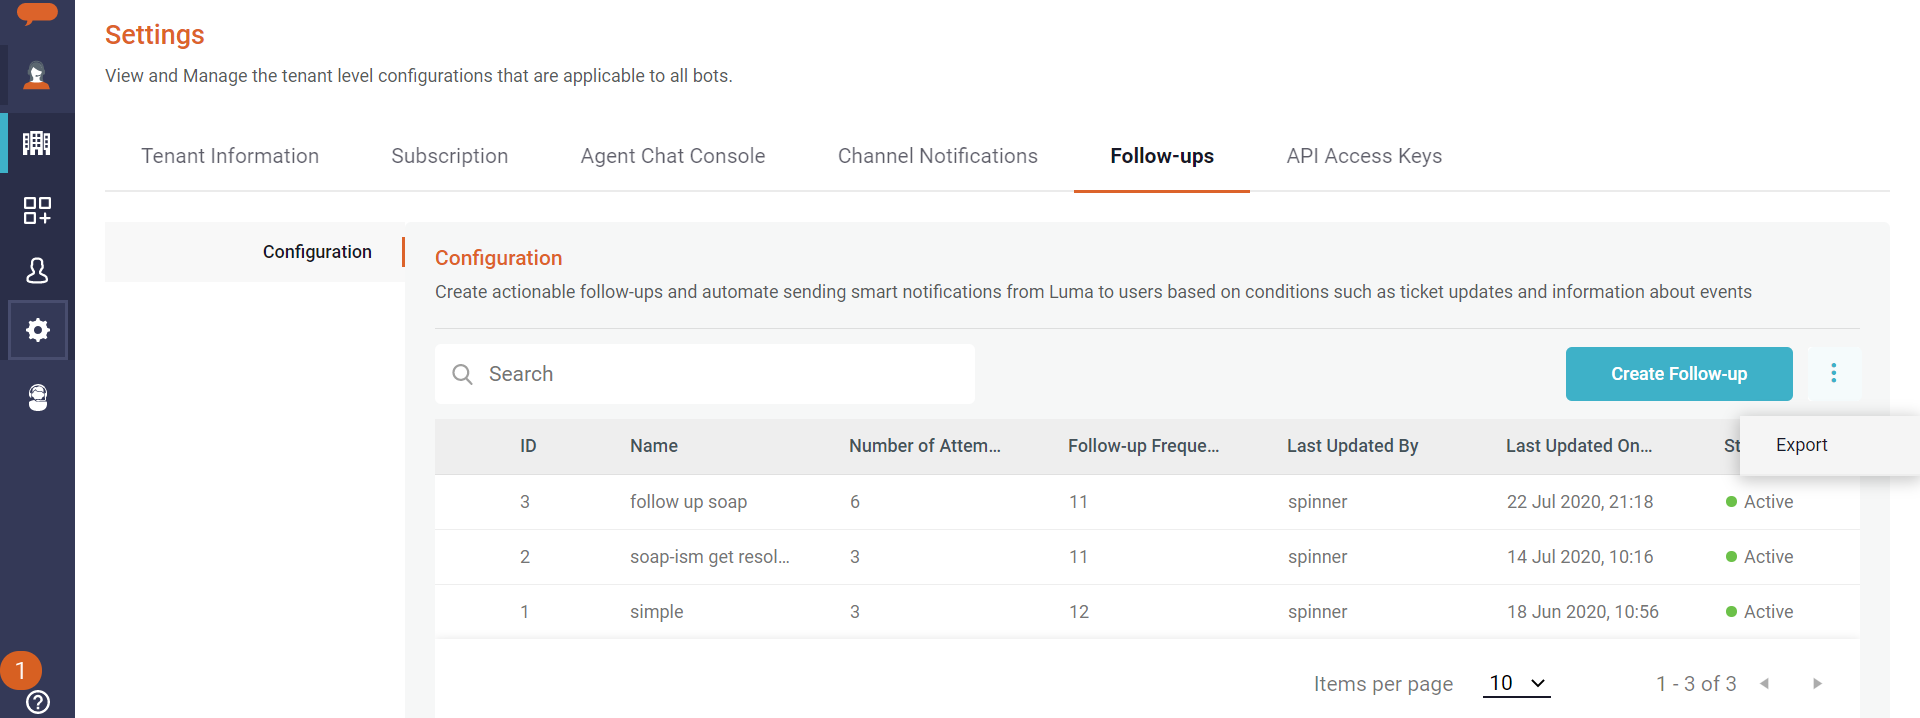
Hover over the left pane, click on Tenant --> Settings. Click the Follow-ups tab to view the list of configured follow-ups.
Click Create Follow-up to create a new follow-up.
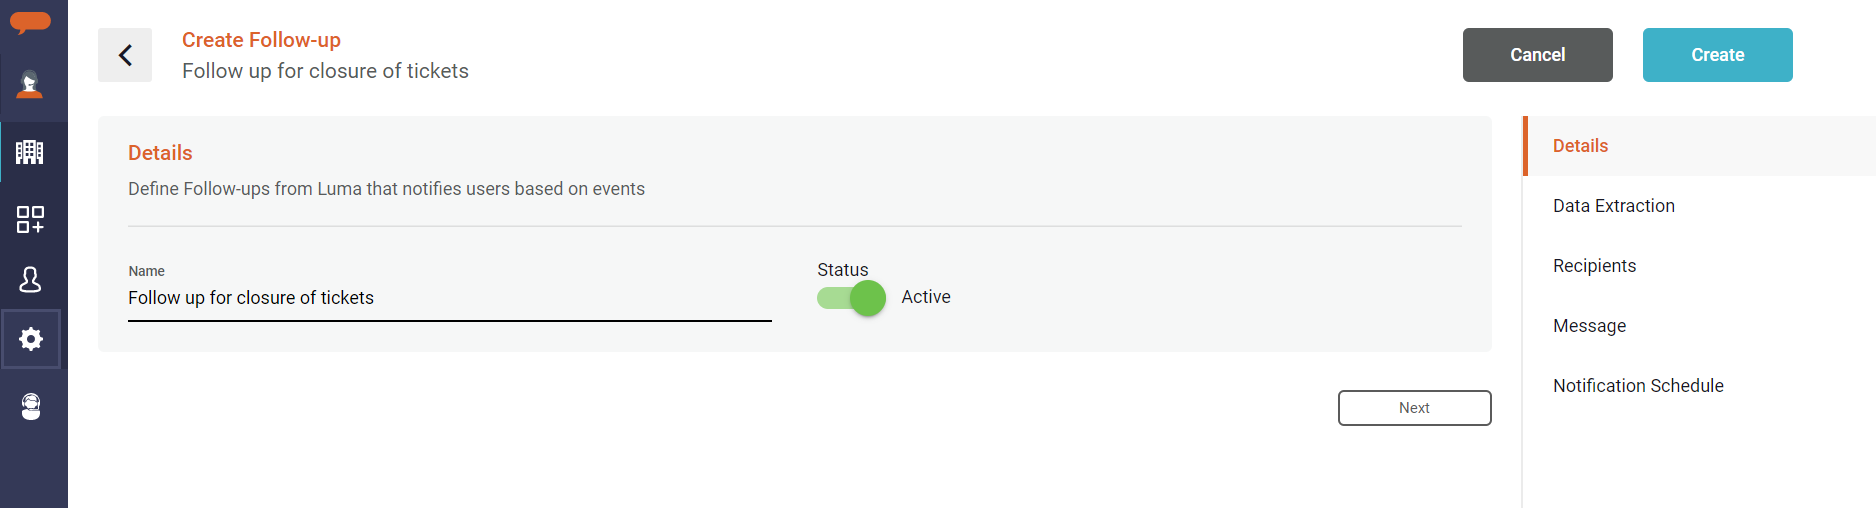
The New Follow-up page appears where we can fill in the data such as its Follow-up Name and Status. Click Next.
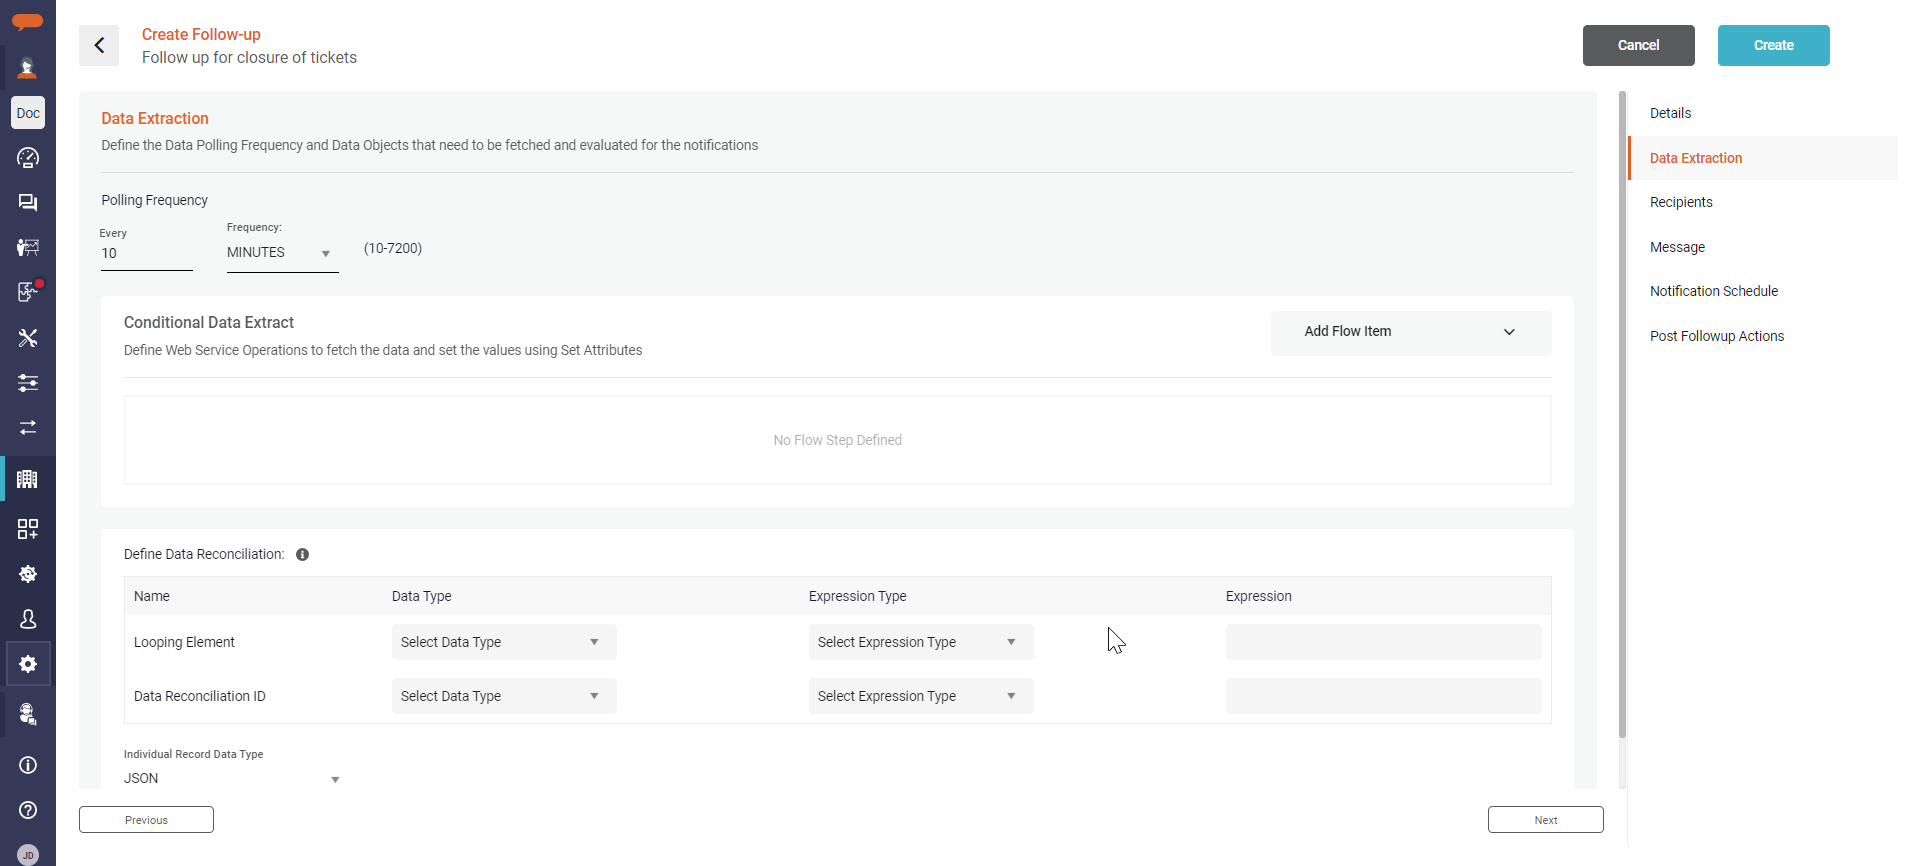
The next section is Data Extraction for the follow-up task. You would need to specify the following configuration parameters:
Polling Frequency: The frequency at which the data from the External systems should be fetched. Specify the required interval at which Luma needs to pool poll for data to be processed and follow up with users. The minimum supported polling frequency is 10 minutes and the maximum value is 5 days, which is 7200 minutes.
Conditional Data Extract: Here you can define Web Service Operations to fetch the data from the external system and set the values using Set Attributes.
Use Integrations to specify the source of data
Set Attributes to assign the data that is fetched from External systems to Local, Global, or User Custom attributes.
Data Reconciliation fields like Looping element and Data reconciliation ID. The looping element holds that data that needs to be processed and Data Reconciliation ID will be used to reconcile the data record on subsequent follow-ups. The fields are mandatory.
Individual Data Record Type: Currently only JSON data type is supported.
Click Next.
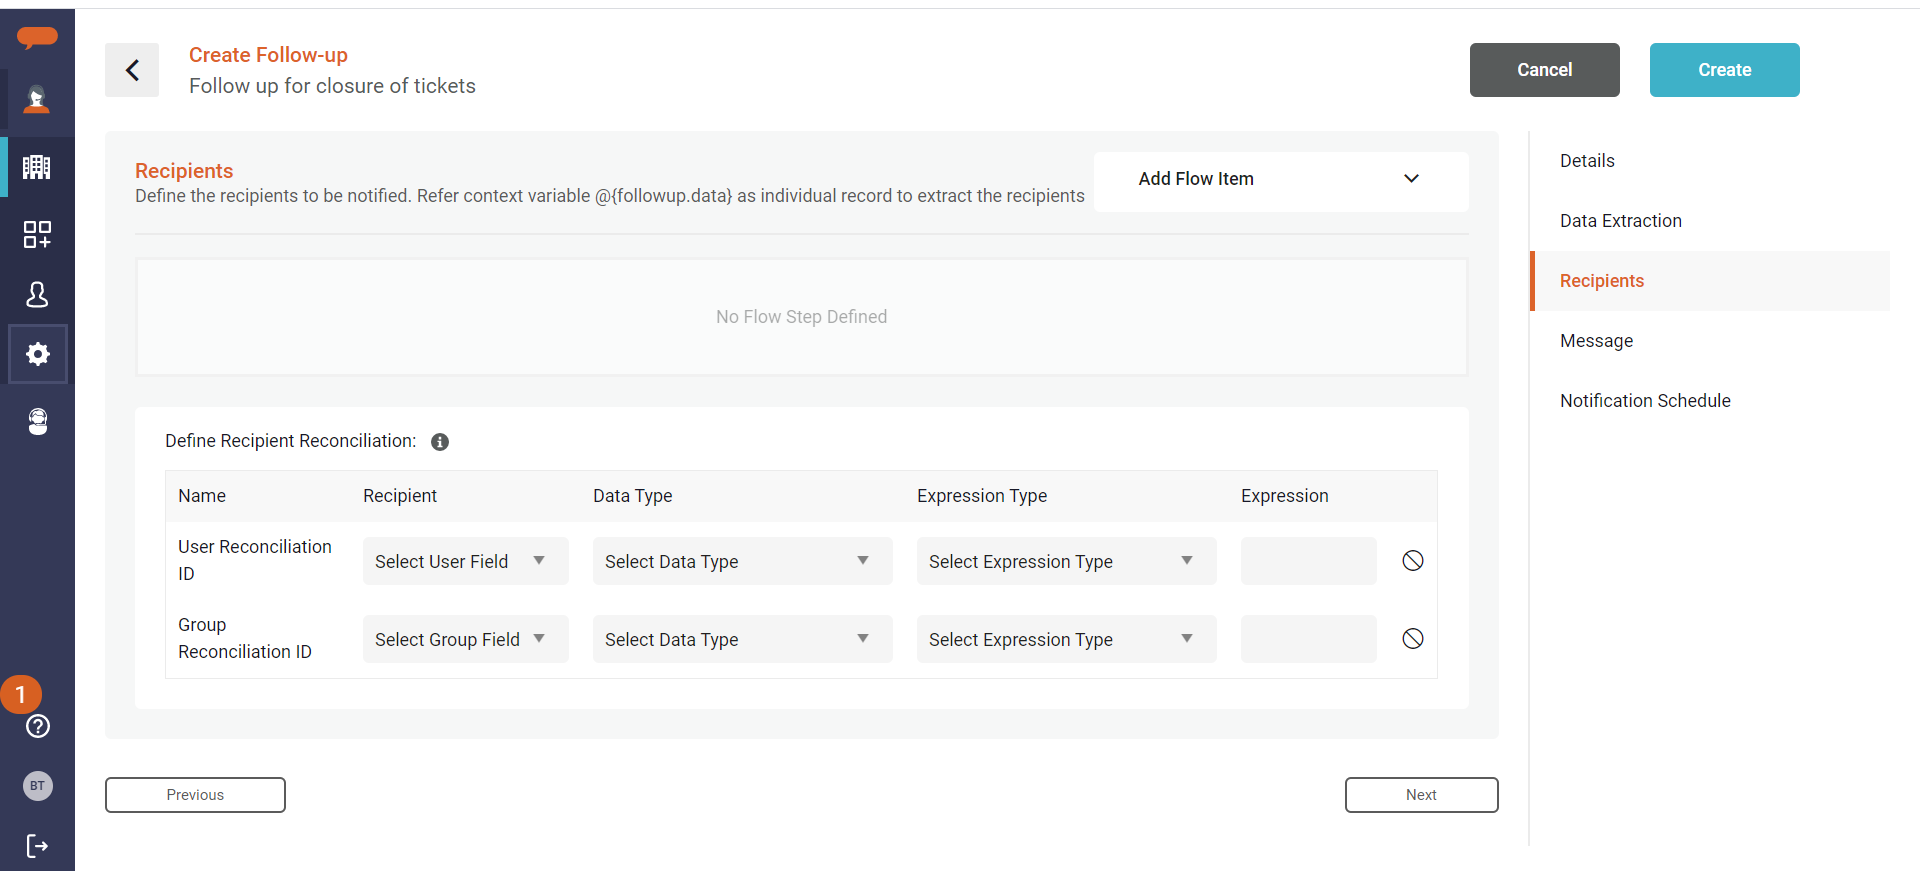
The Recipients section allows you to define the list of recipients to be notified as part of the follow-up process.
Map the data extracted from external systems to the equivalent Luma User field and Group field. Either User or the Group fields are mandatory for the data reconciliation.
You may also add an integration call to fetch recipient information from an external system (based on the data fetched from the previous Integration call specified in the Data Extraction Stage). In such a case, in addition to the Recipients reconciliation fields, add Integration and Set attribute.
You may refer to context variable @{followup.data} as an individual record to extract the recipients.
Click Next to define the message that should be conveyed to the user.
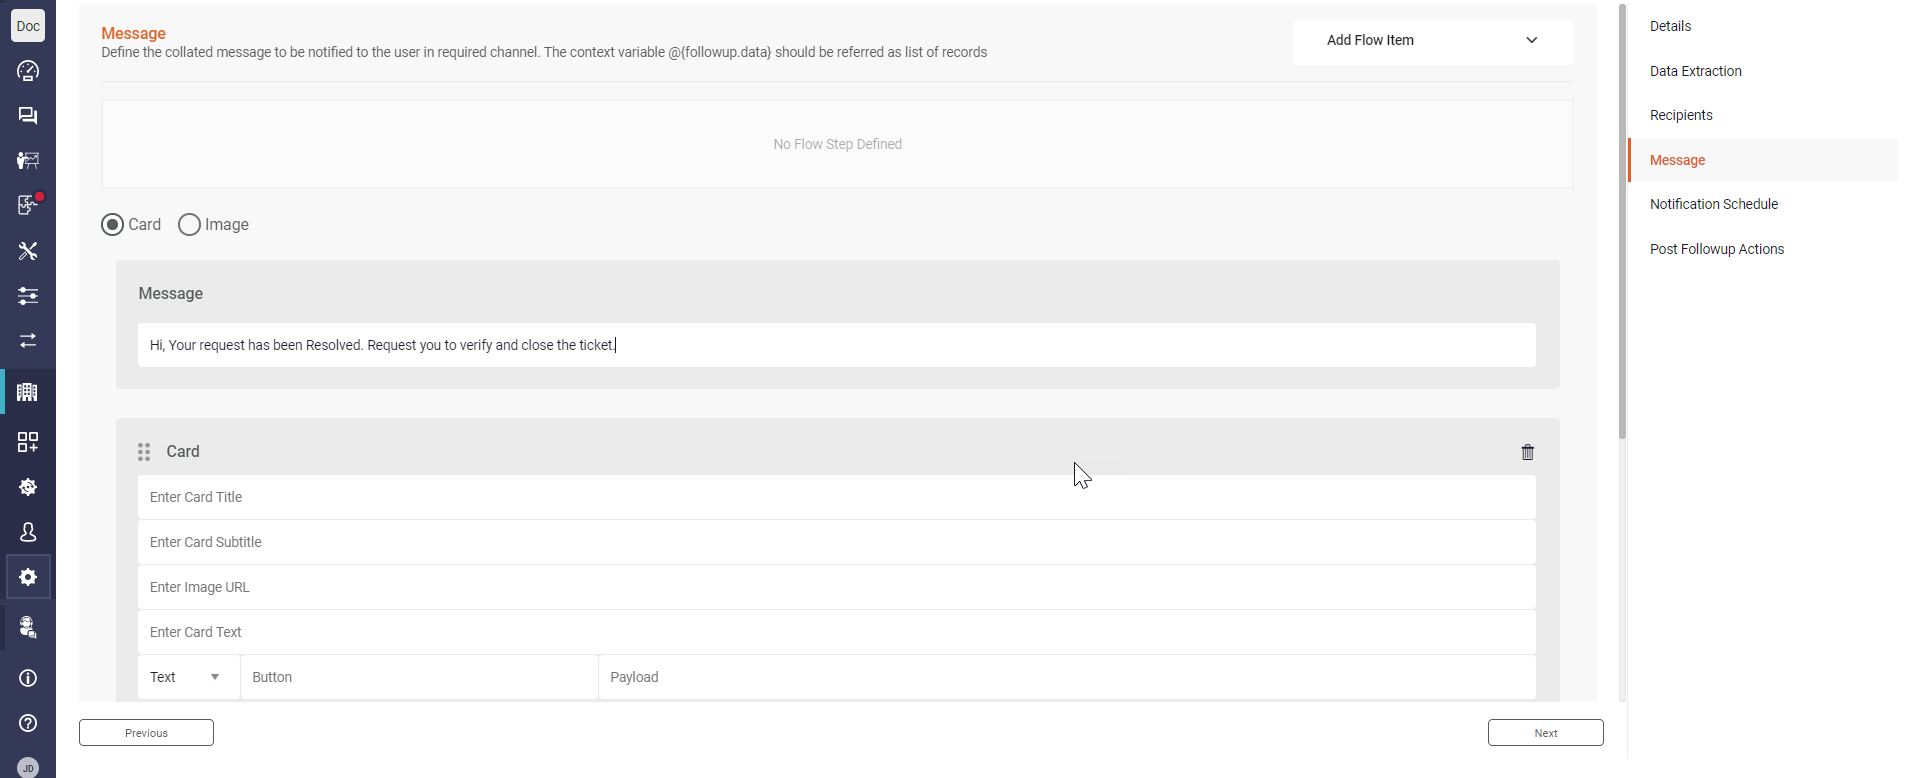
On the Message section, you specify the message in Text, Cards, and Image format. Enter the message to be sent to the intended recipient to receive.
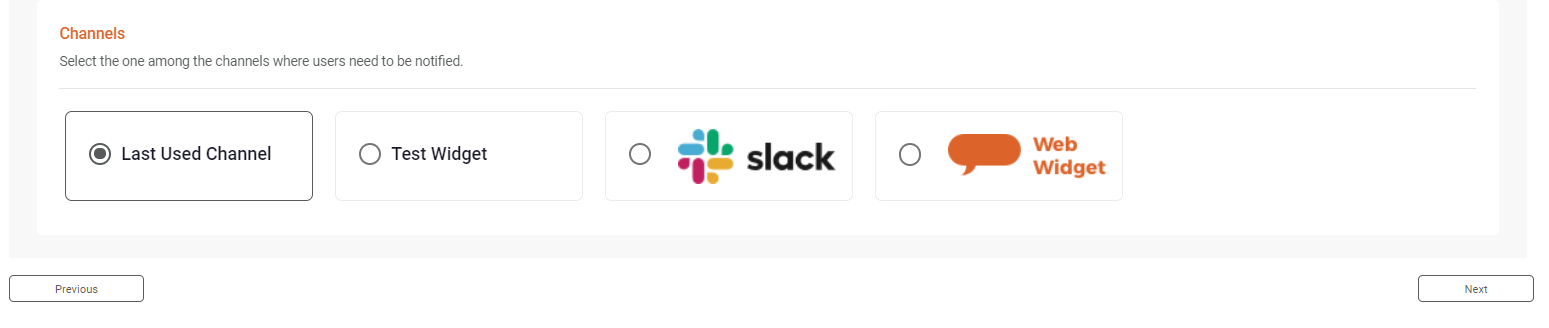
Select one of the channels configured for your tenant, through which the message should be delivered. The Last Used Channel option sends the notification to the chat channel used by the end-user.
Once the Message is defined, click on Next to configure the Notification Schedule.
On the Notification Schedule, you may define the frequency and number of attempts that need to be done to follow up with the required recipients/users.
For Notify frequency, the minimum supported notify frequency is 10 minutes and the maximum value is 5 days, which is 7200 minutes.
The allowed Number of Attempts can be set between 1 -10.

Click Next to set Post Follow-up Actions.
Post Followup Actions are the actions to be executed after the follow-up is executed. You can add Integrations to connect to a target system or Set Attribute to transform that should be executed after each follow-up attempt or upon completion of the follow-up activity. This enables the Virtual Agent to perform predefined actions or updates once the follow-up activity is complete. Post Followup Actions are optional. You may add follow up actions for:
After each follow-up attempt: Add the Actions to be performed after each follow-up attempt.
After all follow-up attempt: Add the Actions to be performed after all follow-up attempts have been executed.

Click on Create. Your Follow-up is now ready.
...
| Info |
|---|
Follow-ups in your Tenant can also be exported and imported using the Export and Import bot feature. Refer to Export and Import for more information. |
To export a set of Follow-ups from your bot, follow the below steps:
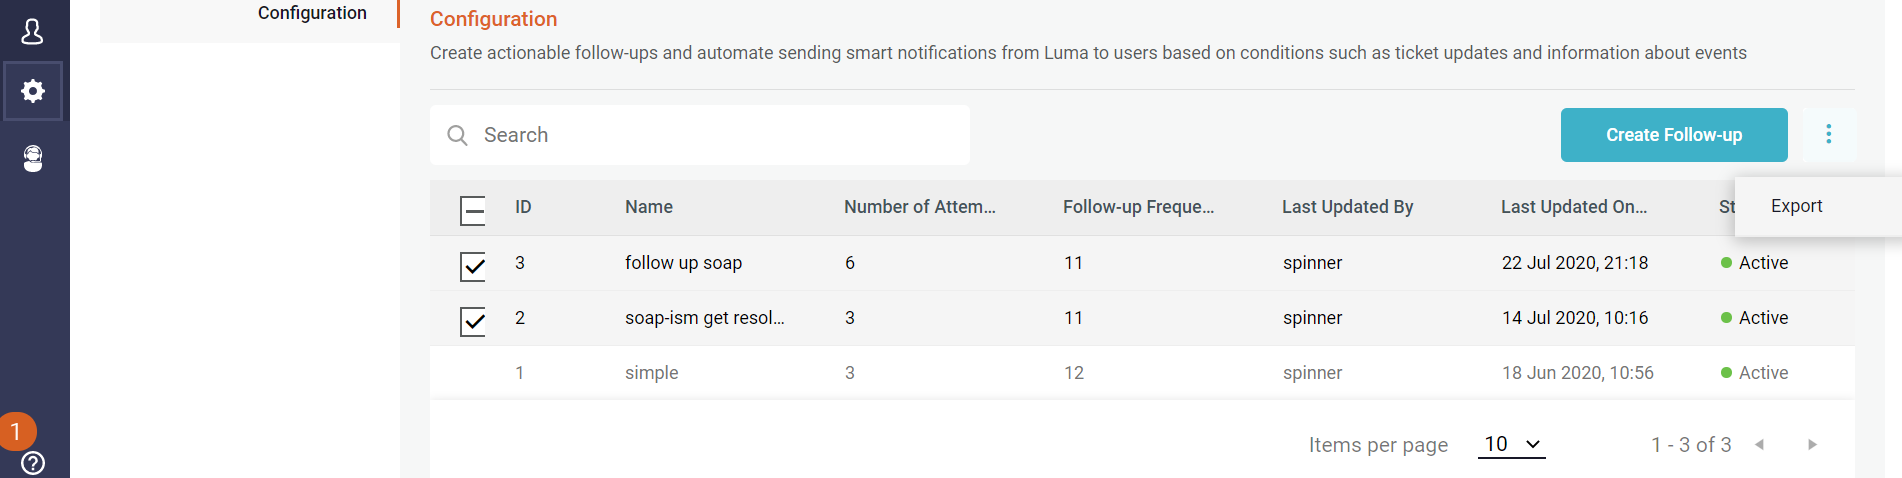
Select Follow-ups that should be exported.
Click on the Export, next to Create Follow up and the following screen appears.
To export the selected list of Follow-ups, click on export selected. Click on Export All to export all configured Follow-ups from your Tenant.
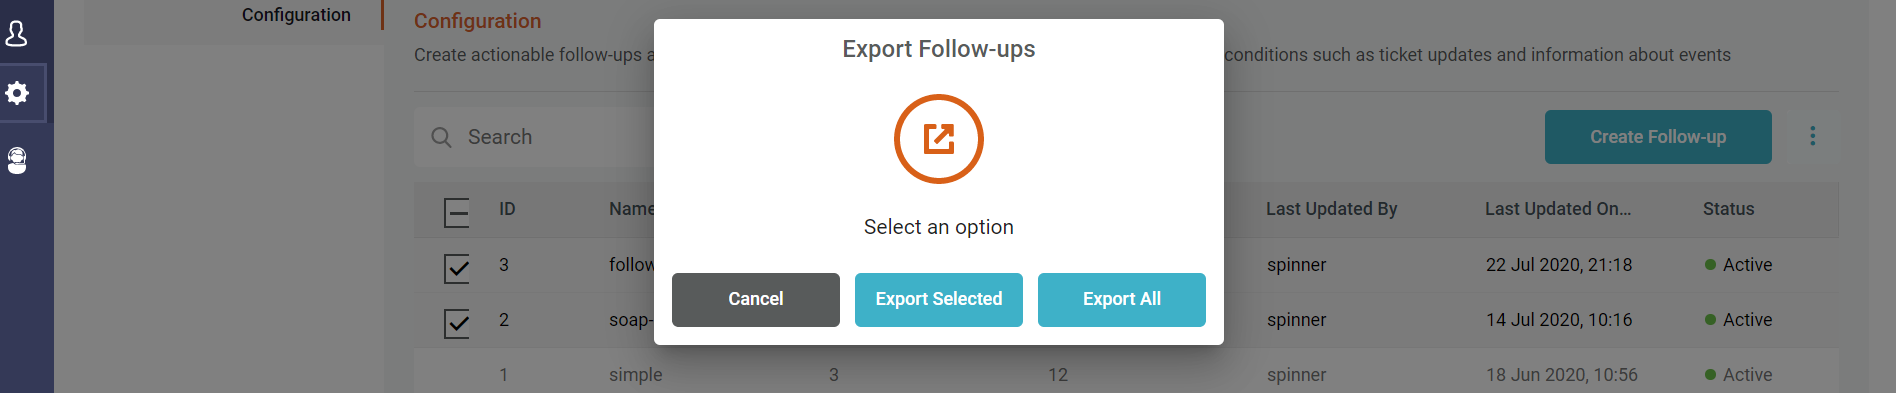
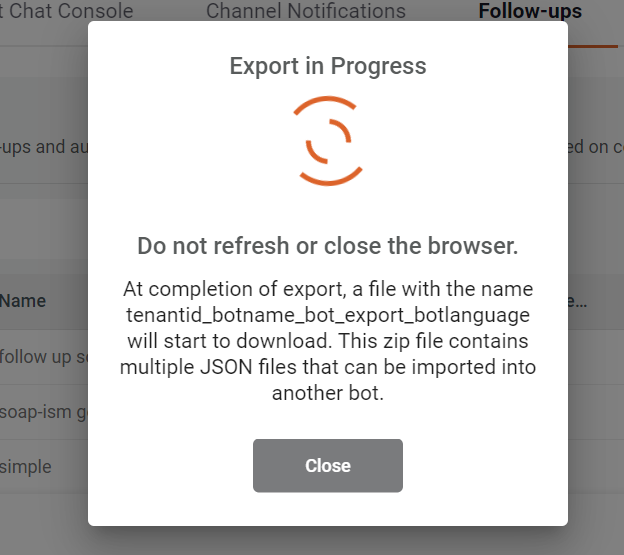
Once the option is selected, the Export process starts as below and a zip file will be created and downloaded. The zip file will contain the below information for the selected Follow-ups
Polling intervals
Integrations and set attributes
Notification schedule
Channel.
The downloaded zip file can now be imported into another Tenant using the Export and Import functionality.
Copy a Follow Up
...