Manage Groups
- priti.hota (Deactivated)
- sneha.tripathi
- Sheshakanth Munagapati (Unlicensed)
This article deals with the following topics:
Overview
Groups in Luma are used for the administration of skill access and representing the support group activities. Groups enable managing skill permissions and classifying Support Groups. Here you can define the purpose of the group i.e. for Skill permission or Support Group to help the end-users of the bot through the Transfer to Agent process.
Here you can add the users who are part of the group and therefore, have access to execute a defined set of Skills.
For example, an HR group should contain users from the HR department and have access to HR-related Skills. This ensures that only users in that group can access HR skills. If users in the Finance group attempts to access HR skills they would receive a message informing that they do not have access.
Administrators can create and edit groups to manage skills. Once the groups are created, assigning users to groups helps allocate skills to a set of users in bulk, instead of assigning them individually to each user.
Out-of-the-box (OOTB) Groups
These are five OOTB groups available in Luma.:
Public Group: Contains all users. Users cannot be removed from this group. By default, no skills are associated.
Default Administrator Group: Contains all administrators and all skills. This ensures that skills can easily be tested by administrators.
Default Developers Group: Contains all developers. This ensures that skills can easily be tested by developers.
Default Support Agents Group: Contains all Administrators, Developers, and Support Agents. This ensures that skills are sent to the right group for actions to be taken.
Guests Group: The Guests Group is used for defining the skill permissions for the skills that should be accessed by anonymous or guest users.Any user who is not registered or associated their chat channel account with their Luma Virtual Agent account is considered a guest. All users who interact with the bot without registered credentials are considered to be guest users. You can add the skills to the Guest Group that can be executed by the guest users.
For more information, see Define Roles, Permissions, and Groups
Create a Custom Group
Groups of support agents are used for the transfer to agent processing and ensuring the user's request goes to the right subject matter experts. For example, a user requesting assistance with Human Resources issues should be directed to the HR group as it contains Support agents that are experts in that area. Analysts, developers, and administrators are part of the Default Chat Console Agent Group.
As stated above, Various support groups are created to cater to topic-specific user requests.
To create a new group, do the following:
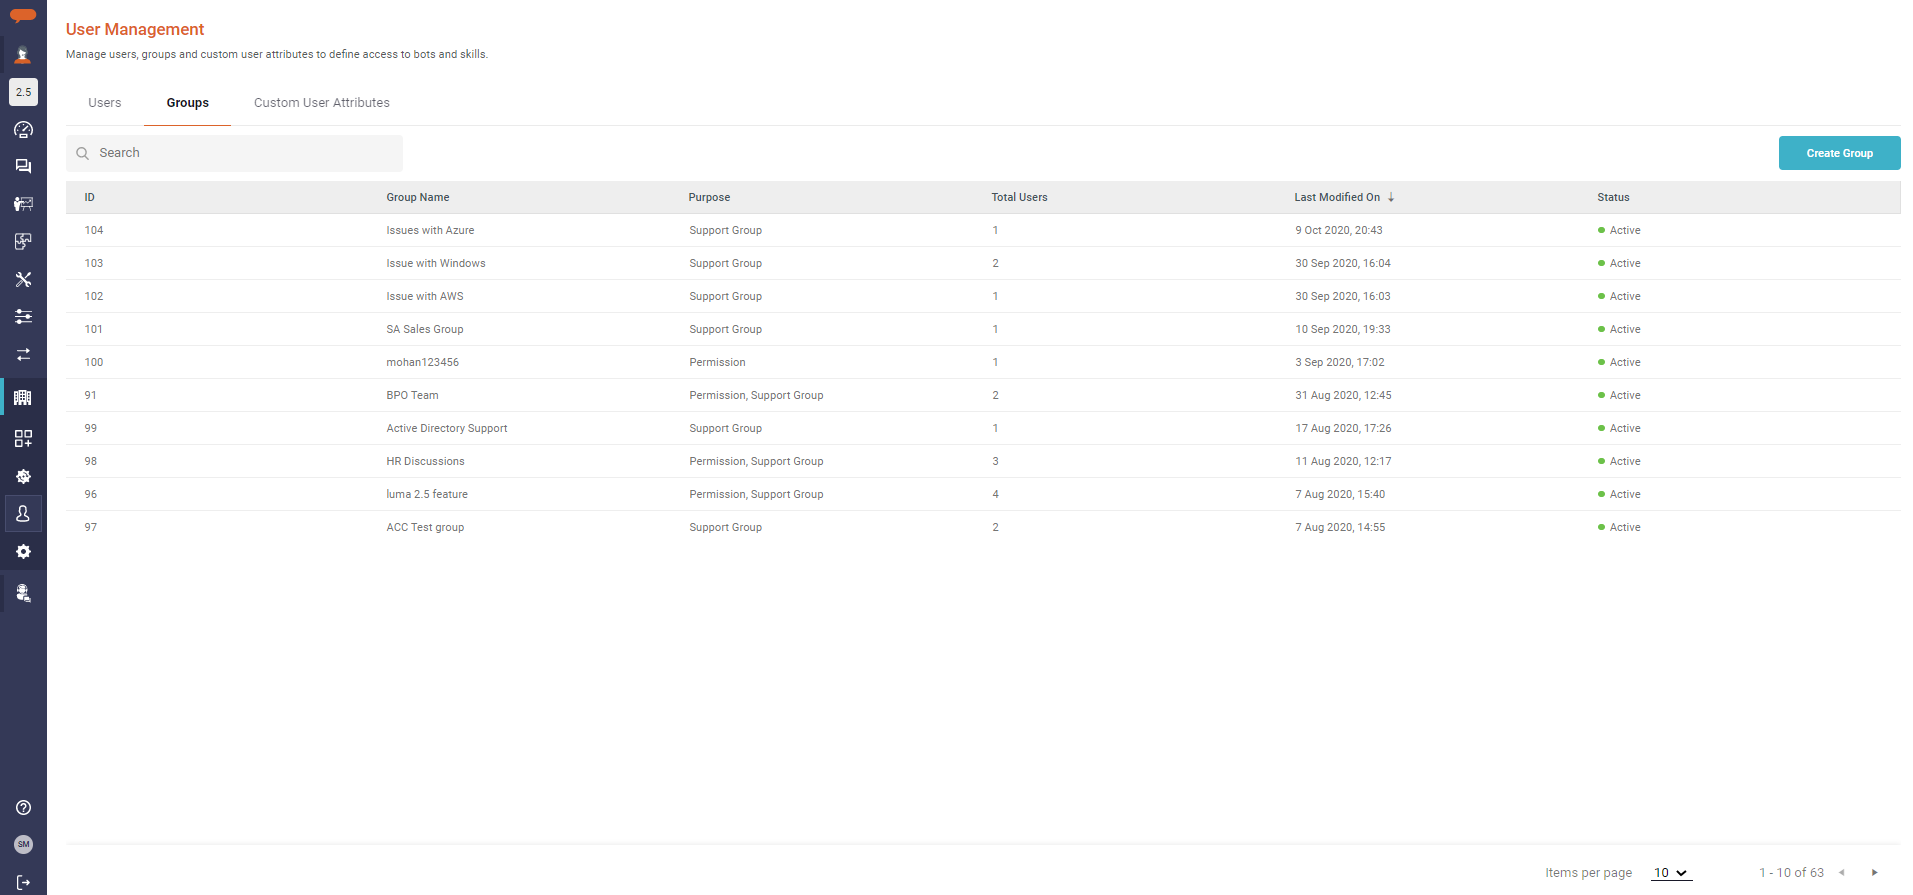
On the Tenant Settings menu, click the User Management tab.
The User Management page appears as shown below..jpg?version=1&modificationDate=1602680062468&cacheVersion=1&api=v2&width=1112&height=487)
Click on Groups as highlighted above.
Click on the Create Group button. The Create Group page appears as shown below.
Enter the group Name.
Provide a Description to the group.
Select group Status.
If the group status is set to inactive, then the group will not be displayed when a user selects the transfer to an agent option.
In the case of skills, if a group is set as inactive, then the skills associated with the group cannot be executed by the group members.
Select the Purpose of the group
a. Support Group: This option enables the user to select the group during the agent transfer process
b. Permissions: This option enables all the group members to have access who are assigned the specific skillClick on the Create button. Else, click Cancel to exit. Once the group is created, by default, the Status is set to Active.
You must first create the Group before associating Users and Skills. See below on how to do this.
When the Permission is checked, and the status is set to active, then all the skills assigned to that group can be executed by the group members.
When the Support group is checked, and the status is set to active, then users can select the group during the agent transfer process.
If both the Permission and Support group are checked, and the status is set to active, then the skills can be assigned to that group, as well as the group can be selected during transfer to the agent process.
.jpg?version=1&modificationDate=1602680062736&cacheVersion=1&api=v2&width=1112&height=487)
Edit Group
Using the Edit option, you can add users and skills to the group. To edit the group, select the required group, and click Edit Group..jpg?version=1&modificationDate=1602680062960&cacheVersion=1&api=v2&width=1112&height=522)
Add Users to the Group
You can add multiple users to the group. Users can be added to groups and groups can also be associated with users from the user profile screen.
To add users to the group, do the following:
Click Add User in the Users section.
.jpg?version=1&modificationDate=1602680063094&cacheVersion=1&api=v2&width=1112&height=522)
Choose from the list displayed on the screen or search for the desired user.
Select the required users and click Add. To add all the users from the list, select the checkbox on the header grid. Else, click Cancel to exit.
Add Skills to the Group
Multiple skills can be associated with each group. Skills can be associated with groups and also directly to users.
To add skills to the group, do the following:
Click Add Skill from the Skills section.
Choose from the list displayed on the screen, you can also search for the desired skill.
Select the required skills from the list and click Add. To add all the skills from the list, select the checkbox on the header grid. Else, click Cancel to exit.
.jpg?version=1&modificationDate=1602680063236&cacheVersion=1&api=v2&width=1112&height=522)
Defining Business Hours for the group
The operating hours for a specific group is termed as Business hours. Set the timezone as per convenience along with the other scheduling details as displayed below.
Here, The Administrator has a provision to choose the desired dates, time of display, and also the days when it should be available. Only Time Zone, Start date, Start Time, and End Time are the mandatory fields. By default, all the days are selected and when no end date is selected, the support analyst is set to online on a recurring basis for every day.
.jpg?version=1&modificationDate=1602680063367&cacheVersion=1&api=v2&width=1112&height=422)
Here, specify the group business hours when support analysts will be available to chat with the end-users.
To set Business hours
Click on the +Add button
.jpg?version=1&modificationDate=1602680063681&cacheVersion=1&api=v2&width=1112&height=522)
Select the desired Timezone.
The administrator can also set the start and end dates as per the need.
Choose the days when you want the chat agents' window to be open and available to the customers.
Select the start time and end time.
Click on Save to save the changes to the group.
You can also customize the message to be shown to the end-users when the chat request is outside the available business hours. This message can be added under the field “Manage to display when request if out of available hours”
During the business hours, when the user requests to be transferred to an agent, the following message appears.
.jpg?version=1&modificationDate=1602680063806&cacheVersion=1&api=v2&width=300&height=560)
The user can choose from the available support groups and talk to the agent who can address their issue.
The end-user can view whether the agent group is online and available to receive the chat request, or is offline. These status details are mentioned just after the group name as shown in the above image.
.jpg?version=1&modificationDate=1602680063929&cacheVersion=1&api=v2&width=300&height=558)
- If the user requests to be transferred to a group outside their working hours, then the following message appears.
.jpg?version=1&modificationDate=1602680064058&cacheVersion=1&api=v2&width=300&height=558)
- when the user request is transferred to a group when the group is currently online, then the following message appears.
.jpg?version=1&modificationDate=1602680064191&cacheVersion=1&api=v2&width=300&height=570)
Delete a Group
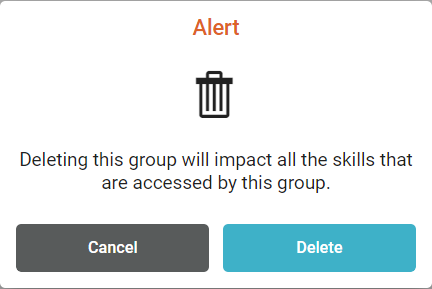
You could delete the created group by clicking on the delete icon at the end of the row in the group grid records.

The following confirmation popup is shown to proceed further on the delete operation. Click on Delete button if you wish to delete the selected group else click Cancel.
© 2019 Serviceaide 1-650-206-8988 http://www.serviceaide.com info@serviceaide.com