Send an SMS Message for a New Ticket
- priti.hota (Deactivated)
- Richard Graves (Deactivated)
Note
While this article was written for version 1.0.0, all instructions will work with 1.0.1.
This example explains about the process to set up a trigger, and action using Serviceaide as the Trigger app and SMS as the Action app.
Note: This does not require a license.
This is a two step Zap that will send an SMS message for every new tickets created in Serviceaide. This example uses the SMS App built by Zapier. This app is free in the US but may be chargeable in other countries.
Note-
- This certainly cannot be used in your production environment.
- A Serviceaide Web services user is required for the Zapier integration process.
- Administrators can also create one using MANAGE> Tools> Users. Create a user with the License type of Web Services.
Step 1 - Setup a Trigger from New Tickets in Serviceaide
To set up a trigger, follow these steps:
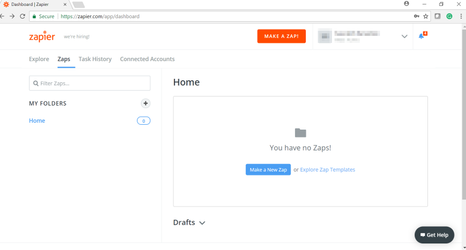
- Login to your Zapier account using https://zapier.com.
Note: Creating an account with Zapier includes a 14 day free premium trial and after that you are redirected to a free basic plan.
2. Click Make a Zap on your Dashboard.
3. Select the App that will trigger this workflow. For example, Serviceaide.

You selected the Serviceaide app for the Trigger, now you need to select the exact action that will start this workflow or Zap.
4. Choose the trigger and the action from the respective menus on the left panel.
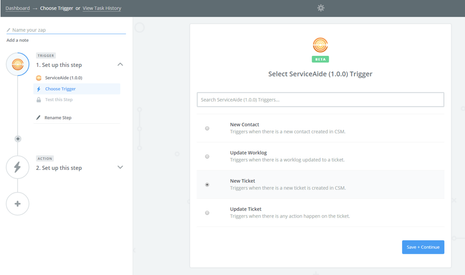
5. Click New Ticket as the trigger, only if you have selected the Serviceaide app.
6. Click Save + Continue.
Now you need to connect to your Serviceaide environment from your Zapier account.
7. Connect to your account by clicking the Connect an Account button.
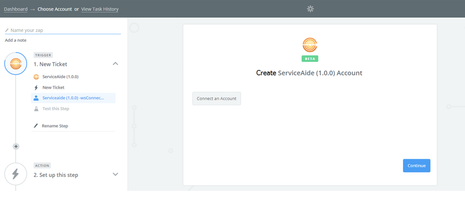
The following window appears after you connect your account.
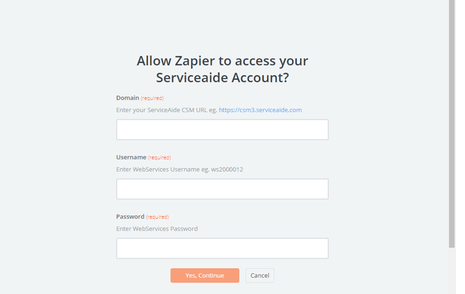
8. Specify your serviceaide domain. This is the URL which you use to login to the application. For example, https://csm3.serviceaide.com or https://csm2.serviceaide.com. You can also use your staging URL for testing.
9. Specify your Username followed by the password.
Note: These fields require the Username and password of a Webservices user from Serviceaide. If you don’t have these details, log into your Serviceaide environment as an Administrator and navigate to MANAGE> Tools> Users and create a Webservices User . The new user must have a license type of Web Services.
10. After specifying all your credentials, click Yes, Continue. The following window appears.
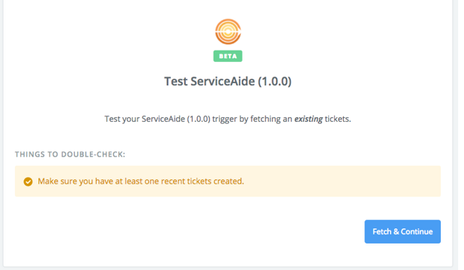
11. Click Fetch & Continue to validate the connection.
Note: You must have recently created tickets in your system for this test to return a "Test Successful" message.
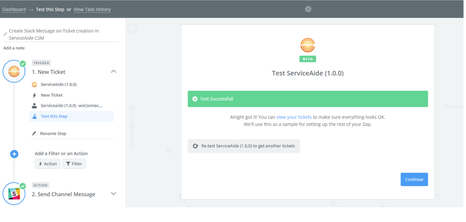
12. Click Continue to move to the next step.
Note:
- If the credentials are correct and you have recently created tickets in your account, you can see the message as "Test Successful".
- If you see a message such as “We could not find the tickets”, create a few new tickets and click “Try Again”. Else, you can click Skip Test & Continue.
Step 2 - Defining an Action to Send an SMS Message to a Specific Phone Number
To define an action app, follow these steps:
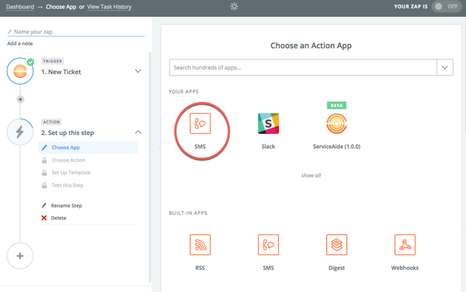
- Click Choose App from the Action menu on the left panel.
- Select the SMS App from the Choose an Action App window.
3. Select the SMS action for your workflow (Zap). In this case, select Send SMS.
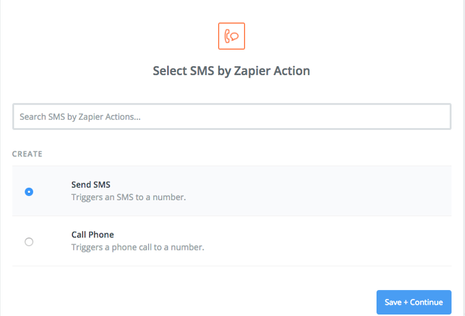
4. Click Save + Continue.
5. Click Connect an Account to setup a phone number to use for sending messages and make a call. Once this is configured, you can use it in other Zaps.
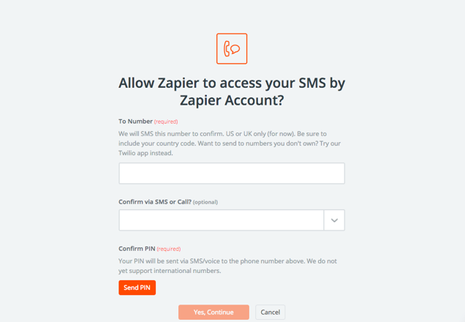
6. Specify the phone number in the To Number field and specify how you want to confirm your number, using SMS or Call.
7. Click Send PIN and follow the instructions to complete validation.
8. Click Yes, Continue.
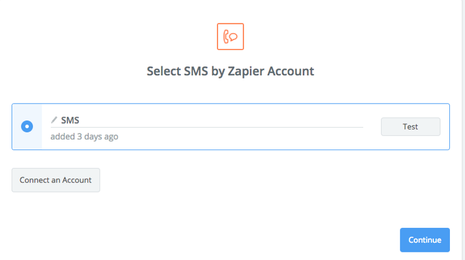
9. Click Continue. You can also click Test to test an account.
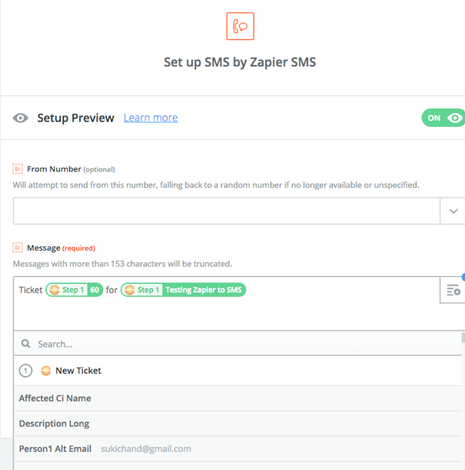
10. Define the message that will be sent to the SMS number when a new ticket is created. You can use attributes from the new ticket that triggered this Zap.
Note: Sample data is displayed based on the test you did in step 1. The screen shot below uses the Ticket ID and the Ticket Description.
11.Click Continue.
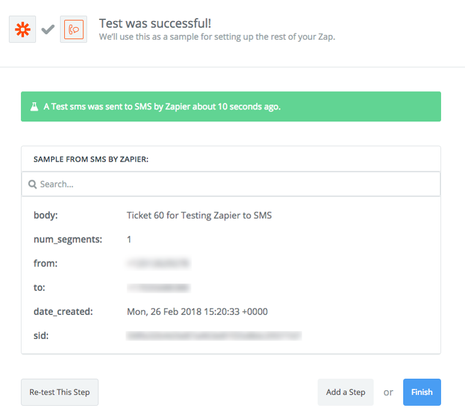
12. Click Send Test to SMS by Zapier to test. You can also click Skip Test if you do not want to perform the SMS test.
13. Check your number to see if you have received the message. If the message meets your needs you can click Finish.
After a successful SMS test, the message sent by Zapier is displayed as follows:
14. Now, you can specify a name for your Zap and set the Zap to On.
Related content
© 2019 Serviceaide 1-650-206-8988 http://www.serviceaide.com info@serviceaide.com