Customize the Dashboard
- priti.hota (Deactivated)
You can select different options to view specific data related to the respective Dashboard, so that you can monitor the metrics.
You can perform the following actions in the Dashboard.
- Add a Filter
- Inspect Data
- Export Data to CSV
To learn about the out-of-the-box metrics and charts available on the Dashboard, see Dashboard Overview.
Add a Filter
The following video demonstrates the various filter options in the Dashboard.
You can apply filters to create or modify view of the data across all visualizations. Filters are used on the Dashboard to get the exact data in the form of metrics, bar charts, or in any other visual form of data representation.
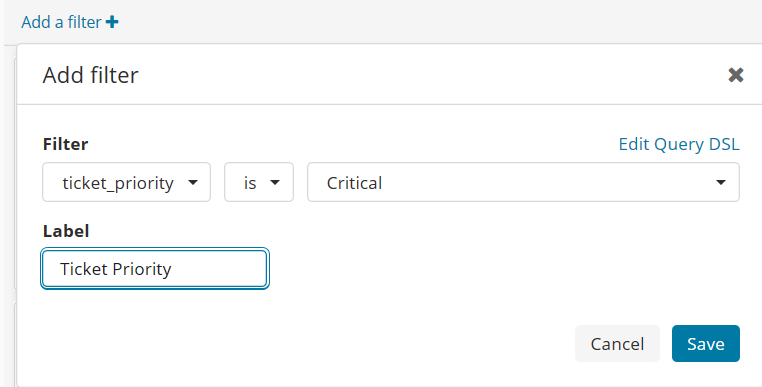
For example, if you want to filter the dashboard data based on the 'Ticket Priority' set as 'Critical', you need to select the following options as shown in the image below:
Click Add a Filter on the Dashboard control bar.
To apply filters manually, do the following steps:
- On the Dashboard page, click Add a filter.
- Specify the standard attribute/field name in the Filter box by selecting the available options from the drop-down list. For example, Ticket_Priority
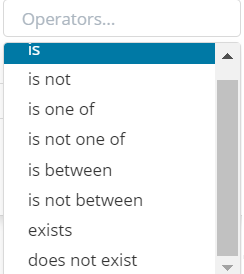
- Select the conditional operator as shown below. Operator implies a condition such as 'is', 'is not', 'is one of' and more, to relate subsequent data based on which you can filter. For example, you can specify the Field as 'Ticket Priority', Operator as 'Is', and Value as Critical. The metrics and charts are displayed according to this filter criteria. Following are the available options:
- Select the value from the drop-down list for the standard attribute which you selected. For example, Critical, Medium, or Low.
- Specify a label to name the filter.
- Click Save to apply the filter. Else, click Cancel to exit without saving the data.
Inspect Data
On the Dashboard, you can inspect data and requests to drill down and view the underlying data for each chart. You can inspect the data behind any chart and view the request that retrieves the data and the response in JSON format. You can also modify the data. You can also download the data in CSV format. The view displayed to you is based on the element which you select.
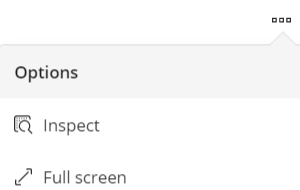
- Navigate to a specific chat and click the chart to view the More options button (…).
- Click the More options button and click Inspect from the Options menu.
Data
When you click Inspect, you can see the following dialogue box. Click the View menu to select one of the options from Data or Requests. By default, View Data is displayed. It displays the underlying data for the specific chart you select in a tabular format. By default, Data is selected.
Data is the content that forms the chart. For example, if the chart shows Open Requests by Category, you can view the following details when you inspect data.
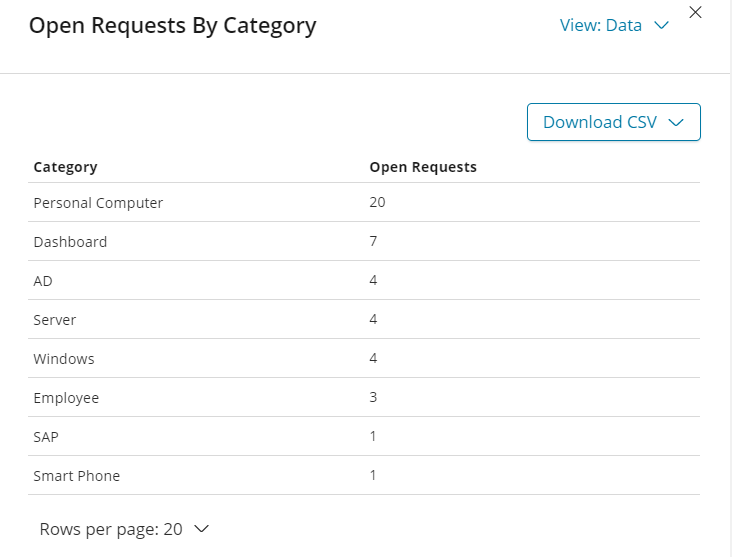
- Click the Download CSV menu to download the data in Formatted CSV and Raw CSV or both.
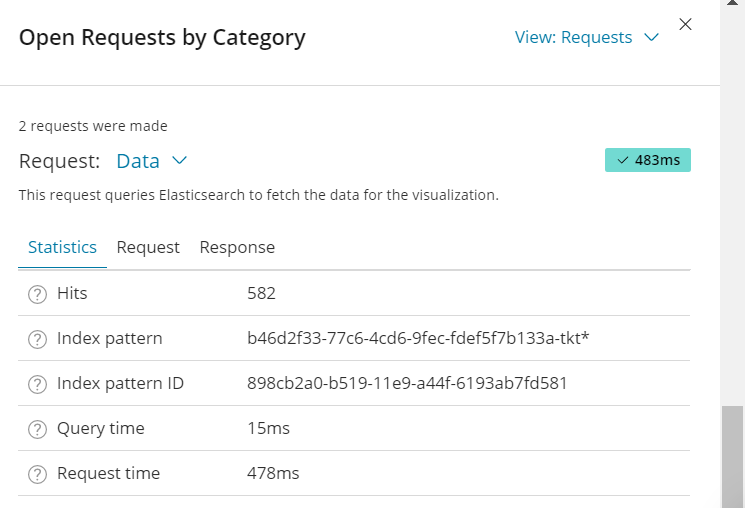
Request
Click Requests from the View menu. You can view the request statistics, elastic search requests, and the response in JASON format as shown below.
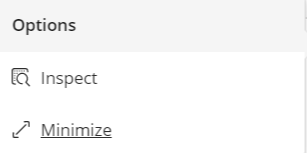
Maximize and Minimize Chart
You can maximize and minimize a specific chart and also the tabular list.
- To do so, click the More options(…) menu and click Full screen.
- Click the more options(…) menu and click Minimize.
Export Data in CSV
You can export the dashboard by downloading the data in Formatted CSV and Raw CSV or both.
- The Formatted CSV option downloads the data in tabular format. The Formatted CSV displays the data in proper date format’s.
- The Raw CSV option downloads the data as it is (such as EPOCH).
Additional Actions
These are the additional actions which you can perform. To do the following, hover the mouse over the filter label or click Actions on the Control bar.
- Enable/Disable Filter
- Pin Filter
- Include/Exclude Matches
- Remove Filter
- Edit filter
- Clicking on any chart entity such as a slice in the pie chart will apply the value as filter across the Dashboard.
- Zooming of the axis in a line chart applies the timeline filters.
Enable or Disable a Filter
You can enable or disable the filter after adding it. After you disable a filter, you can enable it at any time when required.
Do the following to enable or disable a filter:
- By default, the check box is selected and the view is set to Enable. Hover over the filter label and deselect the check box to disable the filter.
When you disable the filter label, the default dashboard is displayed. The filter label appears to be blurred.
Or - Click Actions on the Control bar and then click Enable or Disable accordingly.
Pin or Unpin a Filter
You can pin the applied filter for the specific Dashboard. Do the following to pin or unpin a Dashboard:
- Hover the pointer over the filter label and select the
 icon to pin a Dashboard.
 - Click Actions on the Control bar and then click Pin to mark the dashboard. Else, click Unpin to undo the action.
Include or Exclude Match
You have the provision to include or exclude the filter label, which you have added in the Filter. For example, If you have selected the Ticket Priority as Critical, by selecting the Include or Exclude option you can exclude the Filter Label (Ticket Priority) from the Dashboard. As a result, the Dashboard displays the charts that does not fall under Ticket Priority. By clicking the option again you can restore or include the previous filter label in the Dashboard.
To include or exclude a match, do the following.:
- By default, the phrase is included. Hover the pointer over the filter label and click the
 icon to exclude a match. You can click the icon again to restore the previous Dashboard.
Or - Click Actions on the Control bar and then click Invert.
Remove Filter
You can remove a filter which you have already added. While the Enable/Disable option retains the filter to reuse, the Remove option deletes the filter label completely.
To remove a filter, do the following.:
- Hover the pointer over the filter label and select the
 icon.
icon.
Or - Click Actions on the Control bar and click Remove.
Related content
© 2019 Serviceaide 1-650-206-8988 http://www.serviceaide.com info@serviceaide.com